Heading to Port Townsend and Port Angeles by CHRISTINA HARKNESS

In eight short days I will be heading out to Port Townsend to do an artist residency. It’s funny how the PNW Community Coral Reef Project has taken over my creative process but quite a long time ago, I applied for a residency on my own artistic merit with a project that has lain dormant for many months. Of course, the reef is creeping into my residency time as I am going to do an interview about the reef and spend a day crafting at the Feiro Marine Education Center on November 19th from 10-4.

My mountain landscape that has been ignored for so long is going to get the majority of attention when I have an entire week to do nothing but art. I didn’t even have the background done a week ago and was feeling as if it wouldn’t be done by the time I left. It was important to get it finished as it is the initial step for any of my canvases. I end up adding many layers afterwards and getting the background done before I left seemed like a fundamental necessity.

I managed to finish the last of the background this weekend and got it sewn down. I have even managed to add a couple of trees. Since the inspiration for this canvas is the Olympic Peninsula, I have settled on the name Olympic and now I am puzzling out the best way to create the moss on my trees. I created the first tree and added some lovely mohair locks dyed to the color named “foliage”. My tree looked like one of the Midwestern trees of my childhood after being infested with army worms.

The all encompassing moss of the Hoh Rain Forest is what I am trying to accomplish. Needless to say, I thinned and trimmed the moss down to a negligible amount but I need to figure out what I am going to do. In the meantime, I am making trees and undergrowth, which will be the focus of my residency.


Pack The Reef/Unpack The Reef by CHRISTINA HARKNESS

Last weekend at the fiber festival in Port Angeles was wonderful. The PNW Exposition was a great event, well run and well attended especially for it being the first year.

I was able to connect with many fiber folks and pass out info regarding our crafting day at Feiro Marine Center on November 19th. I was even able to do a little Finders Keepers with some baby corals around Port Angeles, hiding one of them at Feiro. I also saw some whale vertebrae at Feiro and it gave me an idea to create a vertebrae for the reef, nestled among some bleached corals.

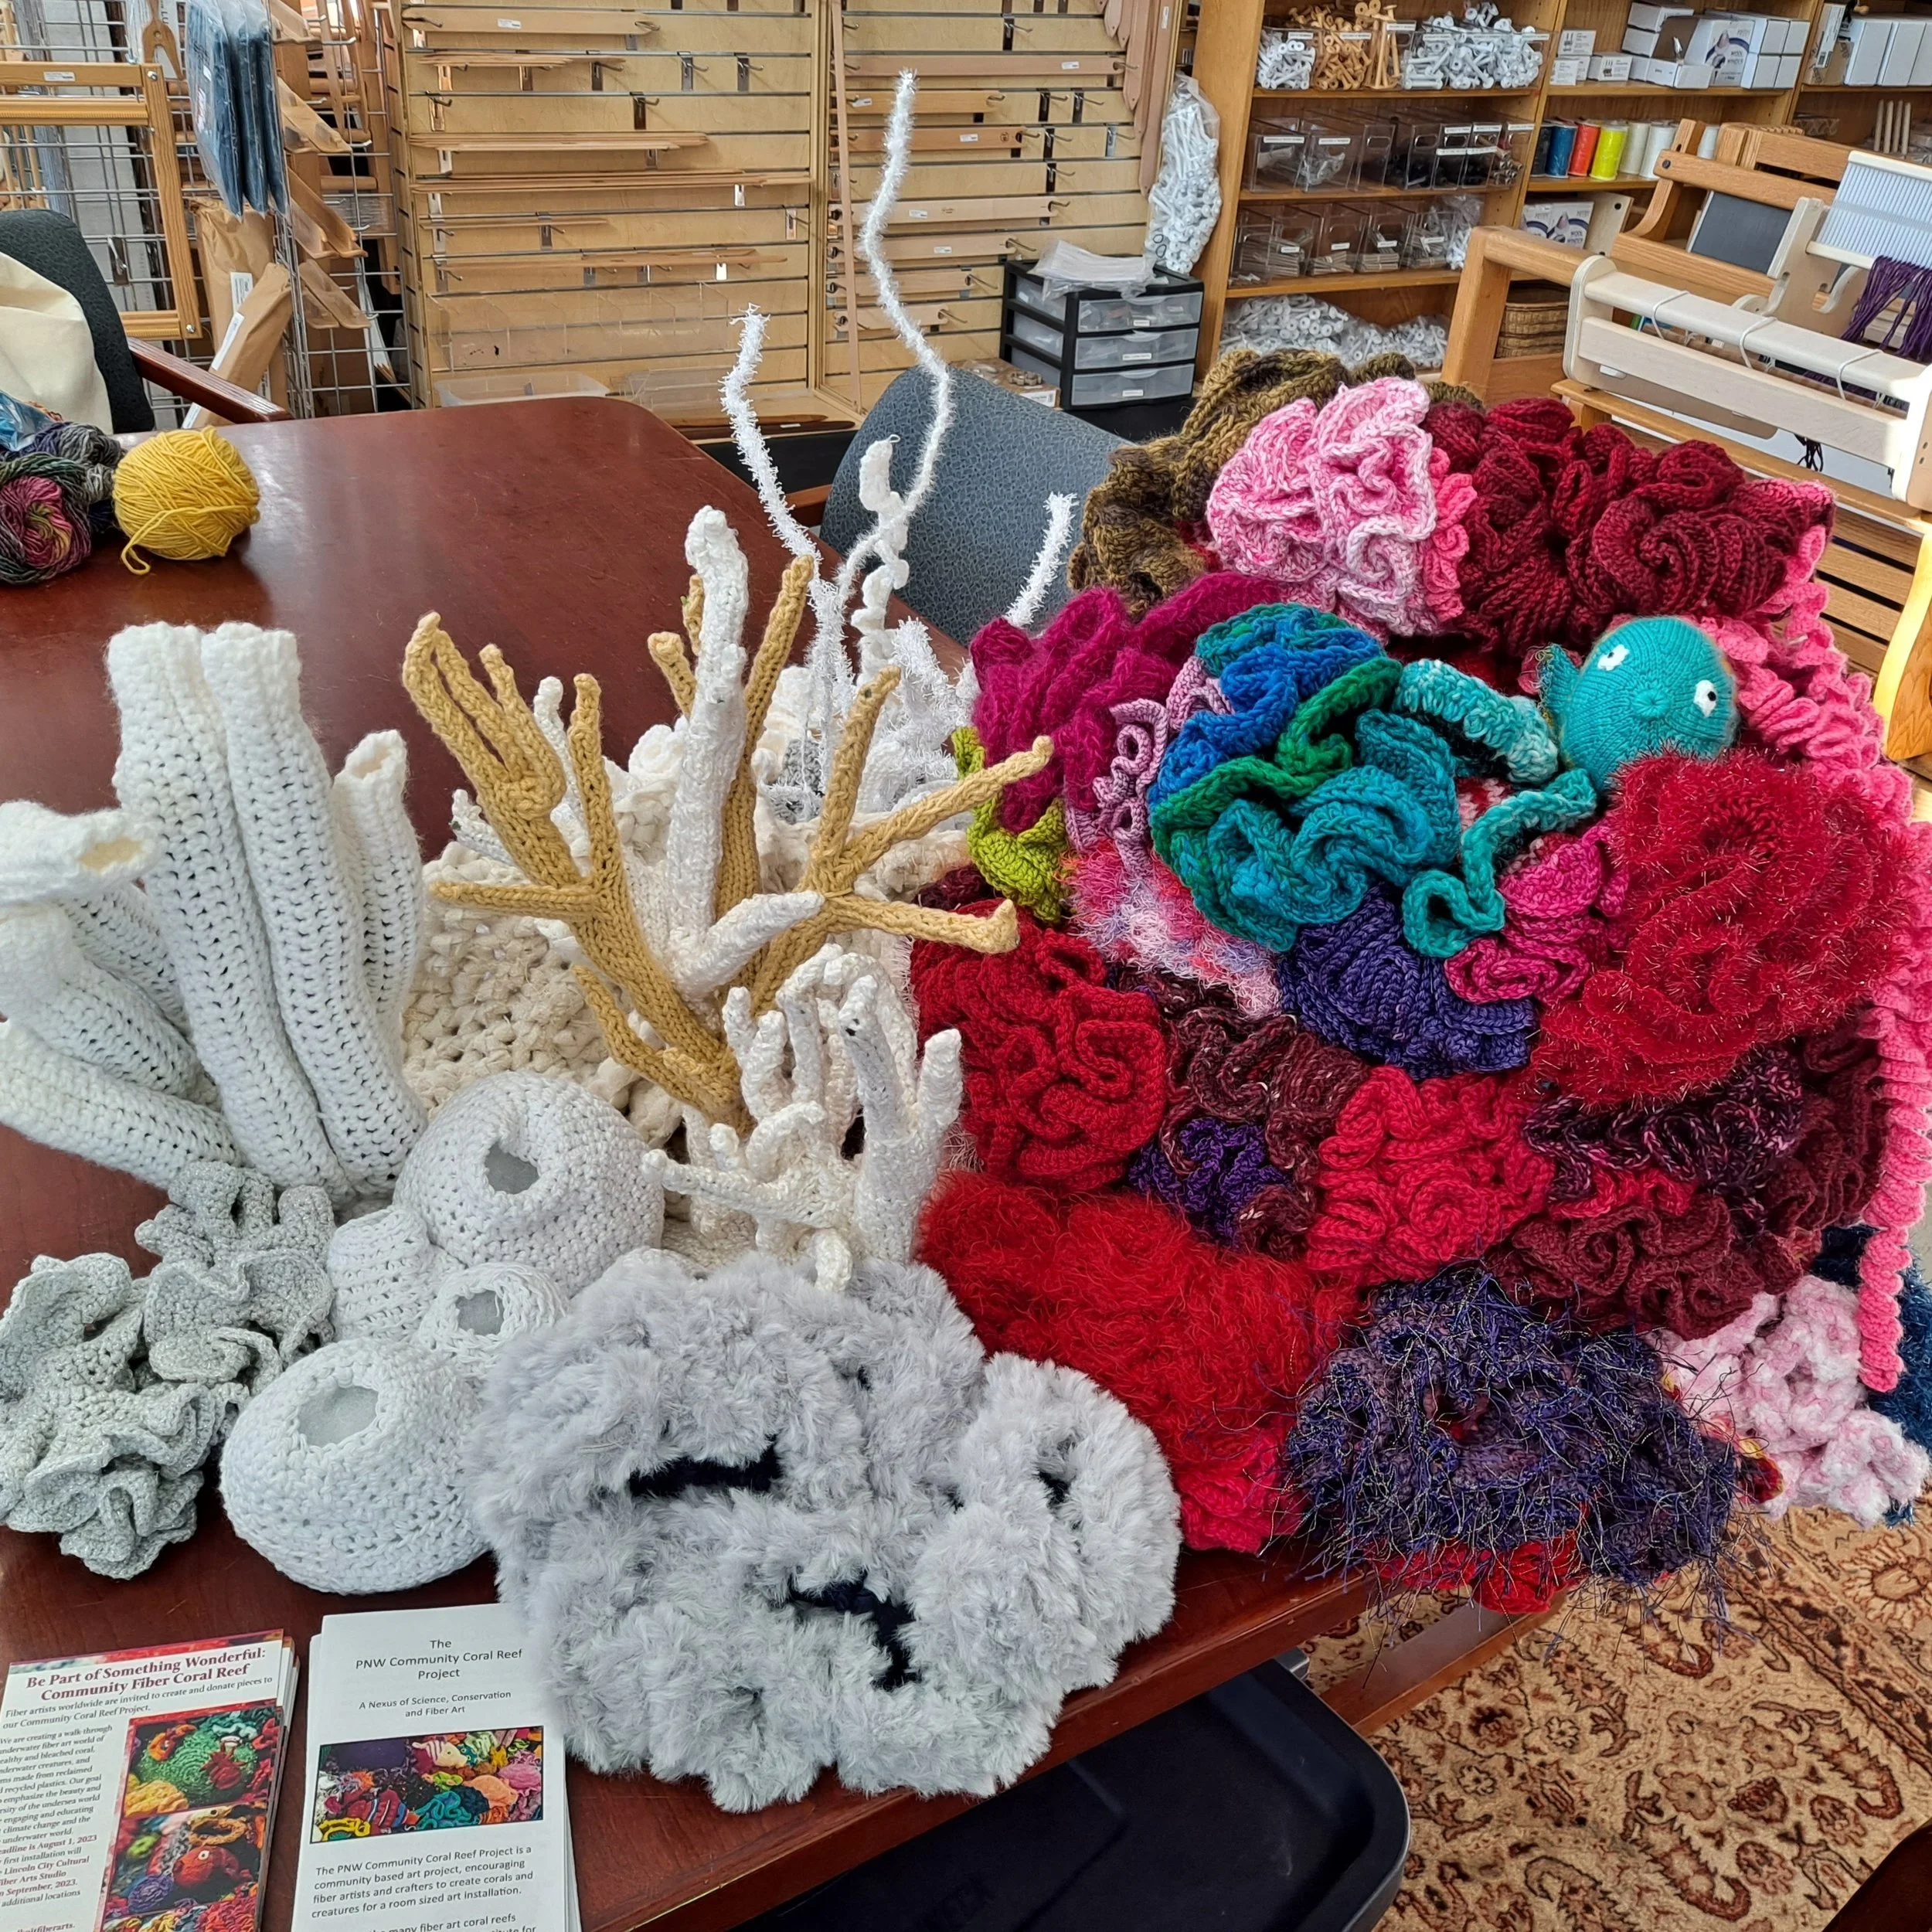
My aim for the crafting day at Feiro will be to invite people to sit and craft corals, bring examples of different corals and creatures that they could create, and provide yarn and patterns for folks that stop by. I don’t think I will be able to bring as much of the reef with me as I did for the expo because I am going to be in Port Townsend for the previous week at an artist residency working on my own art, alongside the reefy business.

Recently I received this bleached coral in the mail which I thought was absolutely great.

Whenever anyone asks what corals we need, I am encouraging bleached corals and corals that stand upright to give us some height. We can certainly take whatever you choose to make but if you asking, those qualities are certainly welcomed.

Another benefit from being in Port Angeles last weekend was getting two more yarn shops as donation points for corals and critters. 8th Street Emporium in Port Angeles and Northwest Yarns in Bellingham are now on board for taking in your reefy creations.


Gearing Up for Port Angeles! by CHRISTINA HARKNESS

I’m looking forward to next weekend as I will be traveling to the PNW Fiber Exposition in Port Angeles, WA. I will be bringing a display of the reef along with information about our upcoming crafting weekend in Port Angeles at the Feiro Marine Life Center on November 19th from 10-4. If you are planning on coming, you can sign up and let me know here.

Recently, I have been working with some materials I found at a local resale shop to create another coral vignette. I was incredibly happy when I stumbled upon this little find

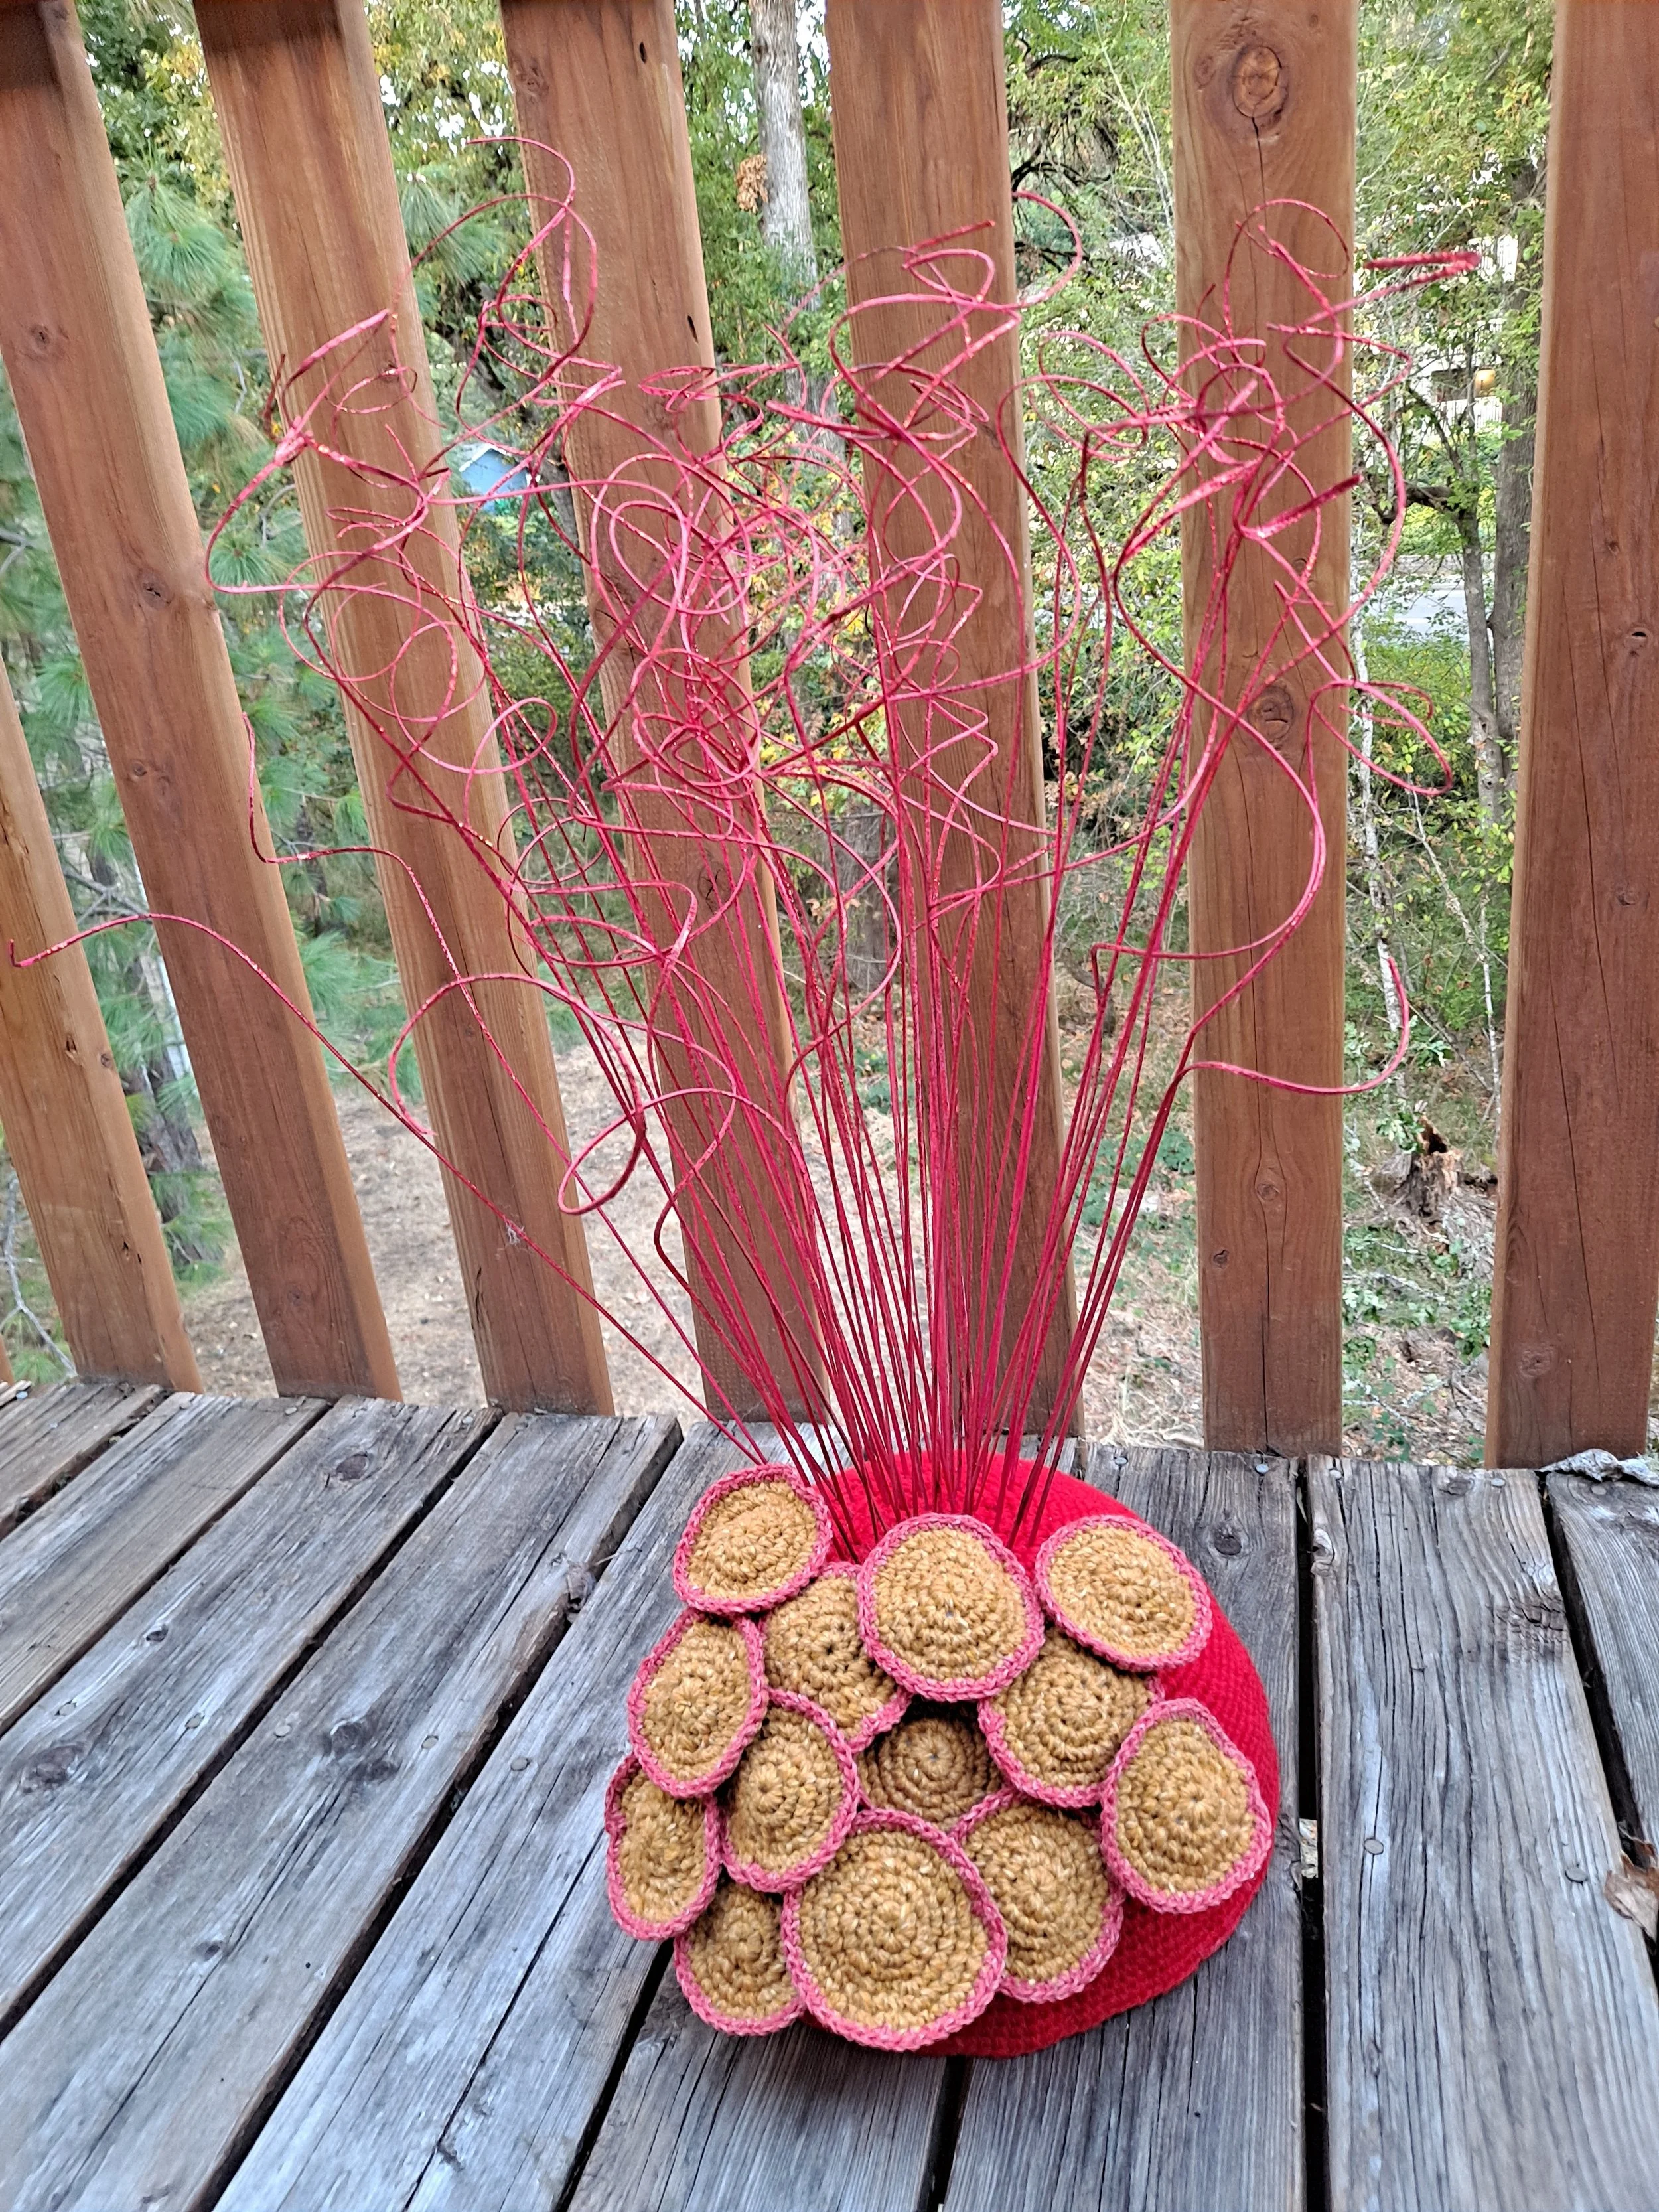
I am really trying to stress corals that have height for the reef now. I am incredibly aware that there is so much dimensional space on a coral reef and the last thing I want is for our reef to look flat. The red curlicues really peaked my interest. I immediately sourced a foam hemisphere and crocheted a cozy to cover it.

I love looking down at the pattern

Since I have many spikes from the curlicues sticking though the hemisphere, I do plan to get some putty or play doh to put on the underside to make everything a little more secure but now I am working on covering the rest with corals.

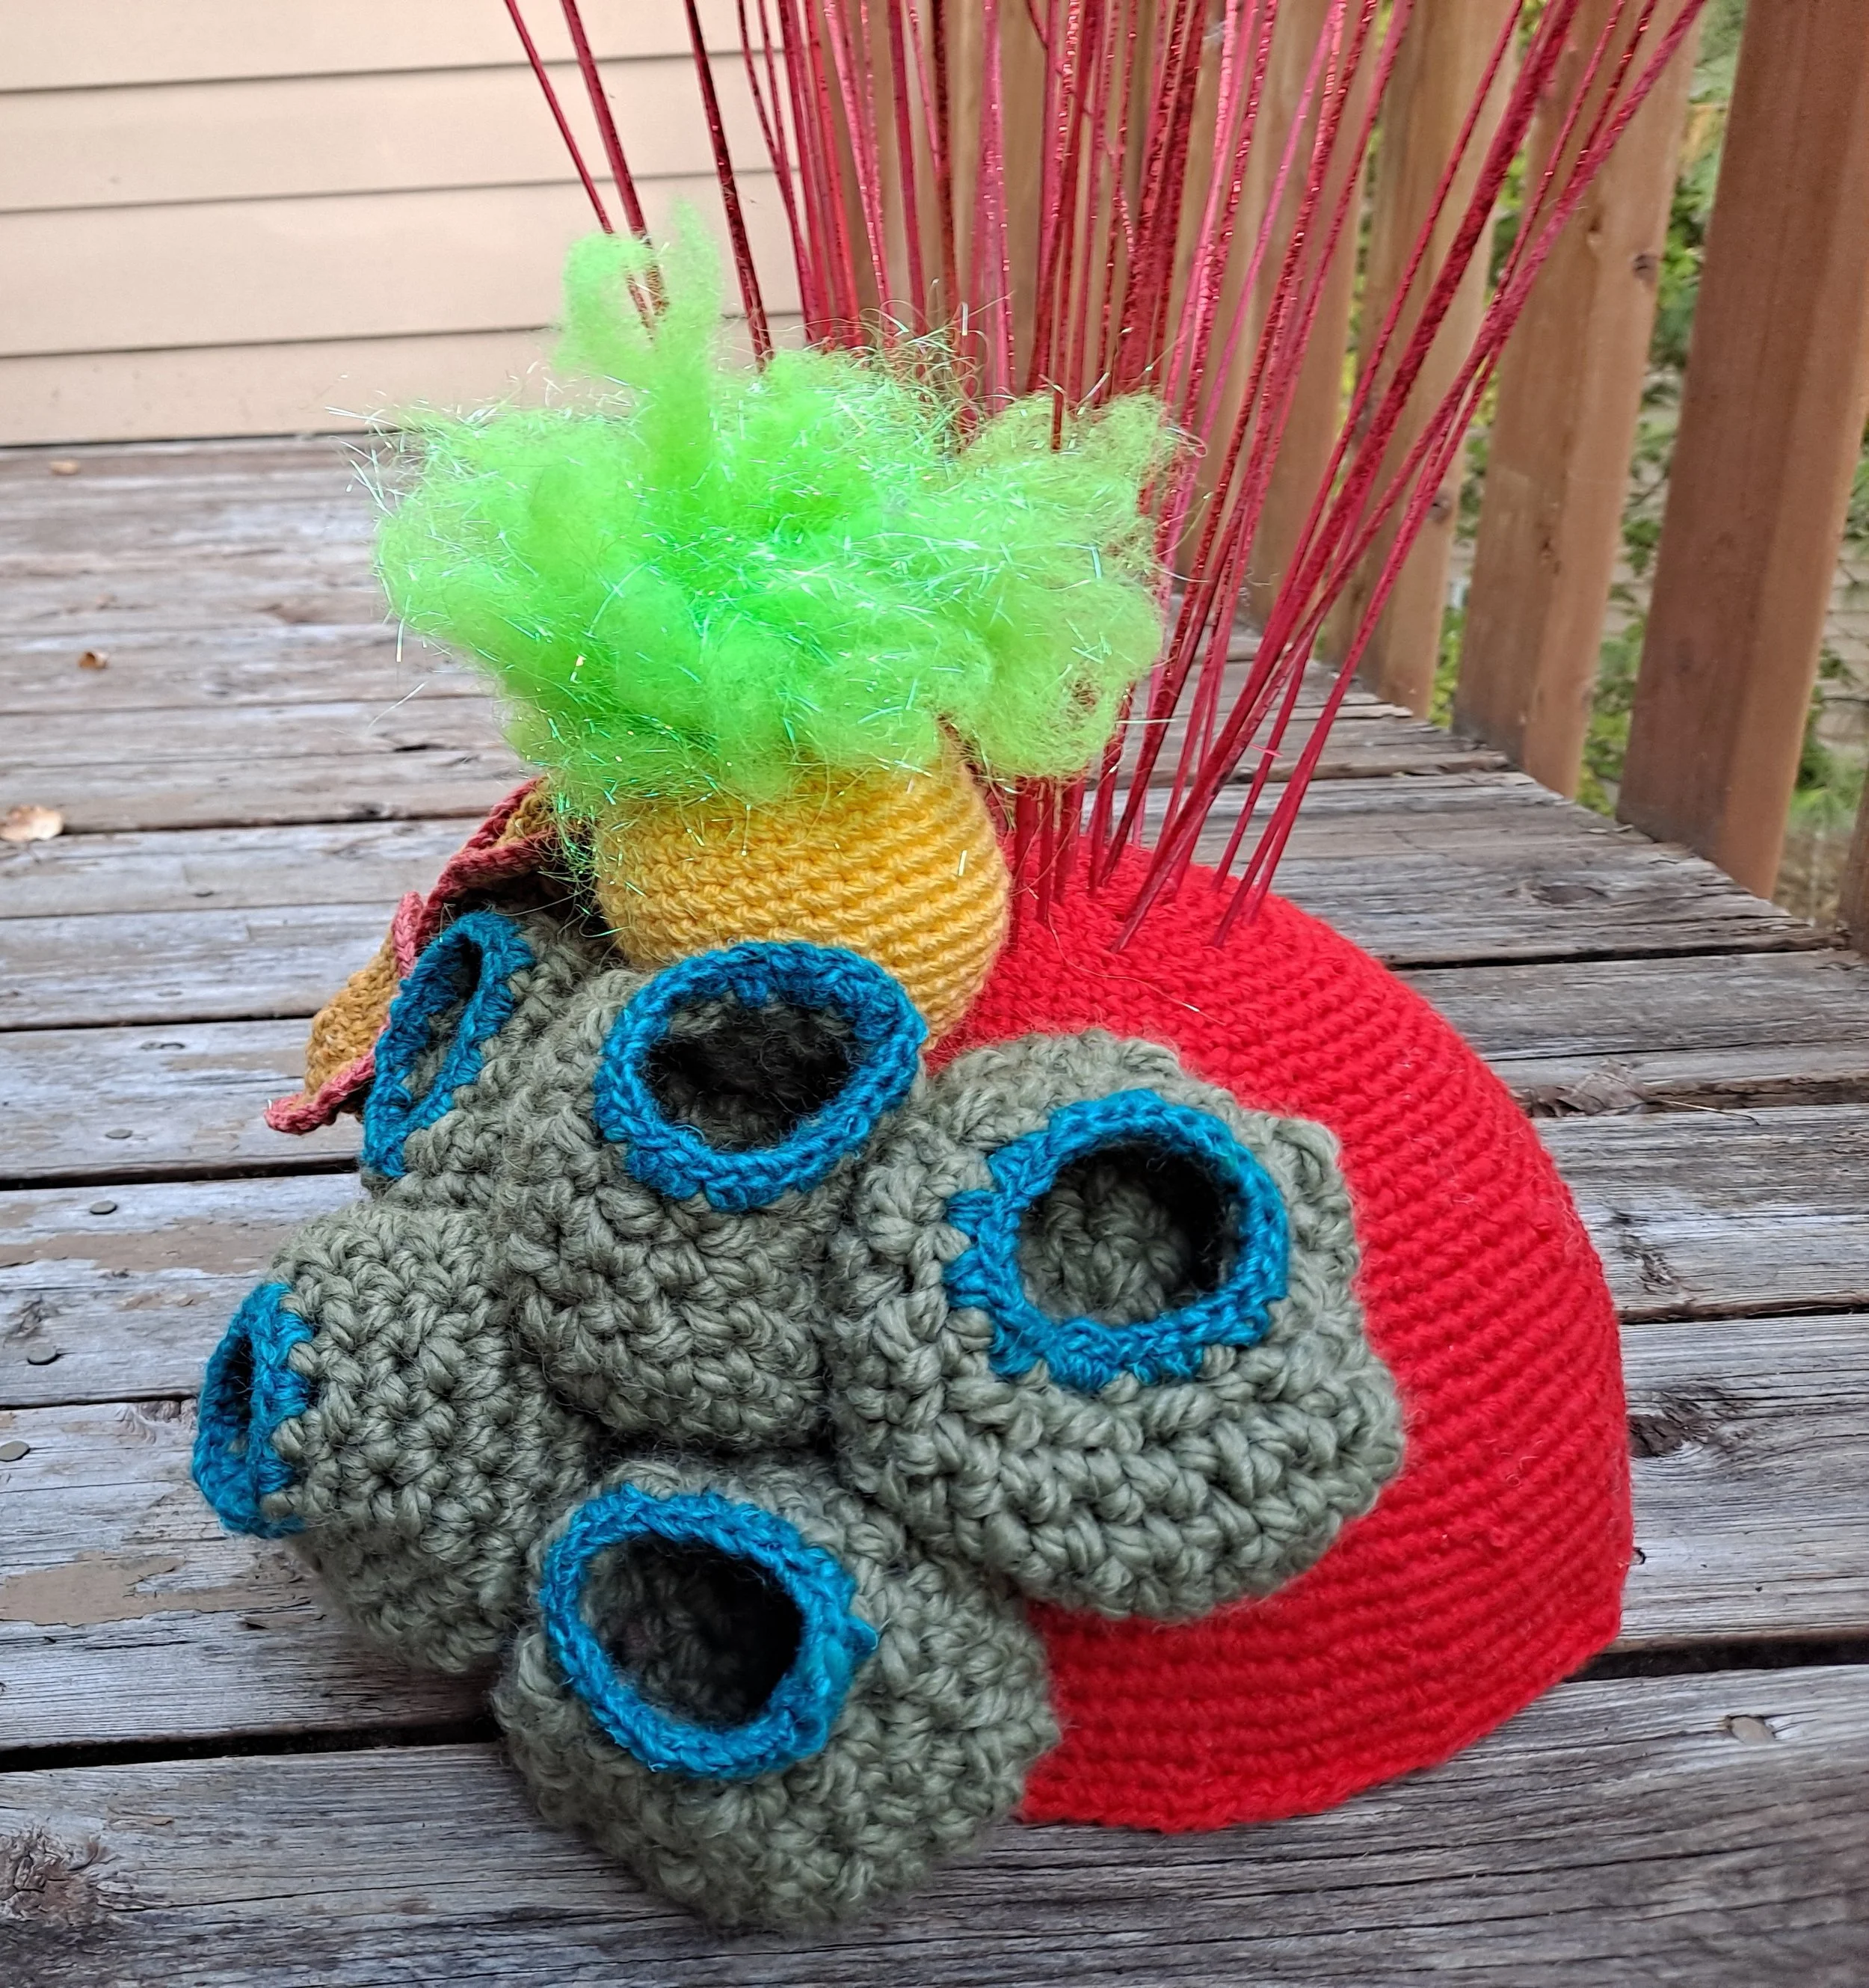
I really like these little plate corals, made with a crocheted circle and a little crocheted tube underneath which I sewed to the circle and lightly stuffed. Sometimes I make these circular, sometimes I make them more freeform but if you do make them and are planning on putting several together to cover some real estate on your reef, make sure to make them all slightly different heights so you can overlap them. I also think that putting a contrast on the edges helps to highlight their individual parts.

I also crocheted something that could be a sponge or a barrel coral or simply a delightful puff beneath the sea. I had some neon green roving with some metallic glittery thread that I added to give it a bit of a sparkle. The green and blue corals were created a few weeks ago and were looking for the right home. I will continue to cover the sphere until the surface is no longer visible.

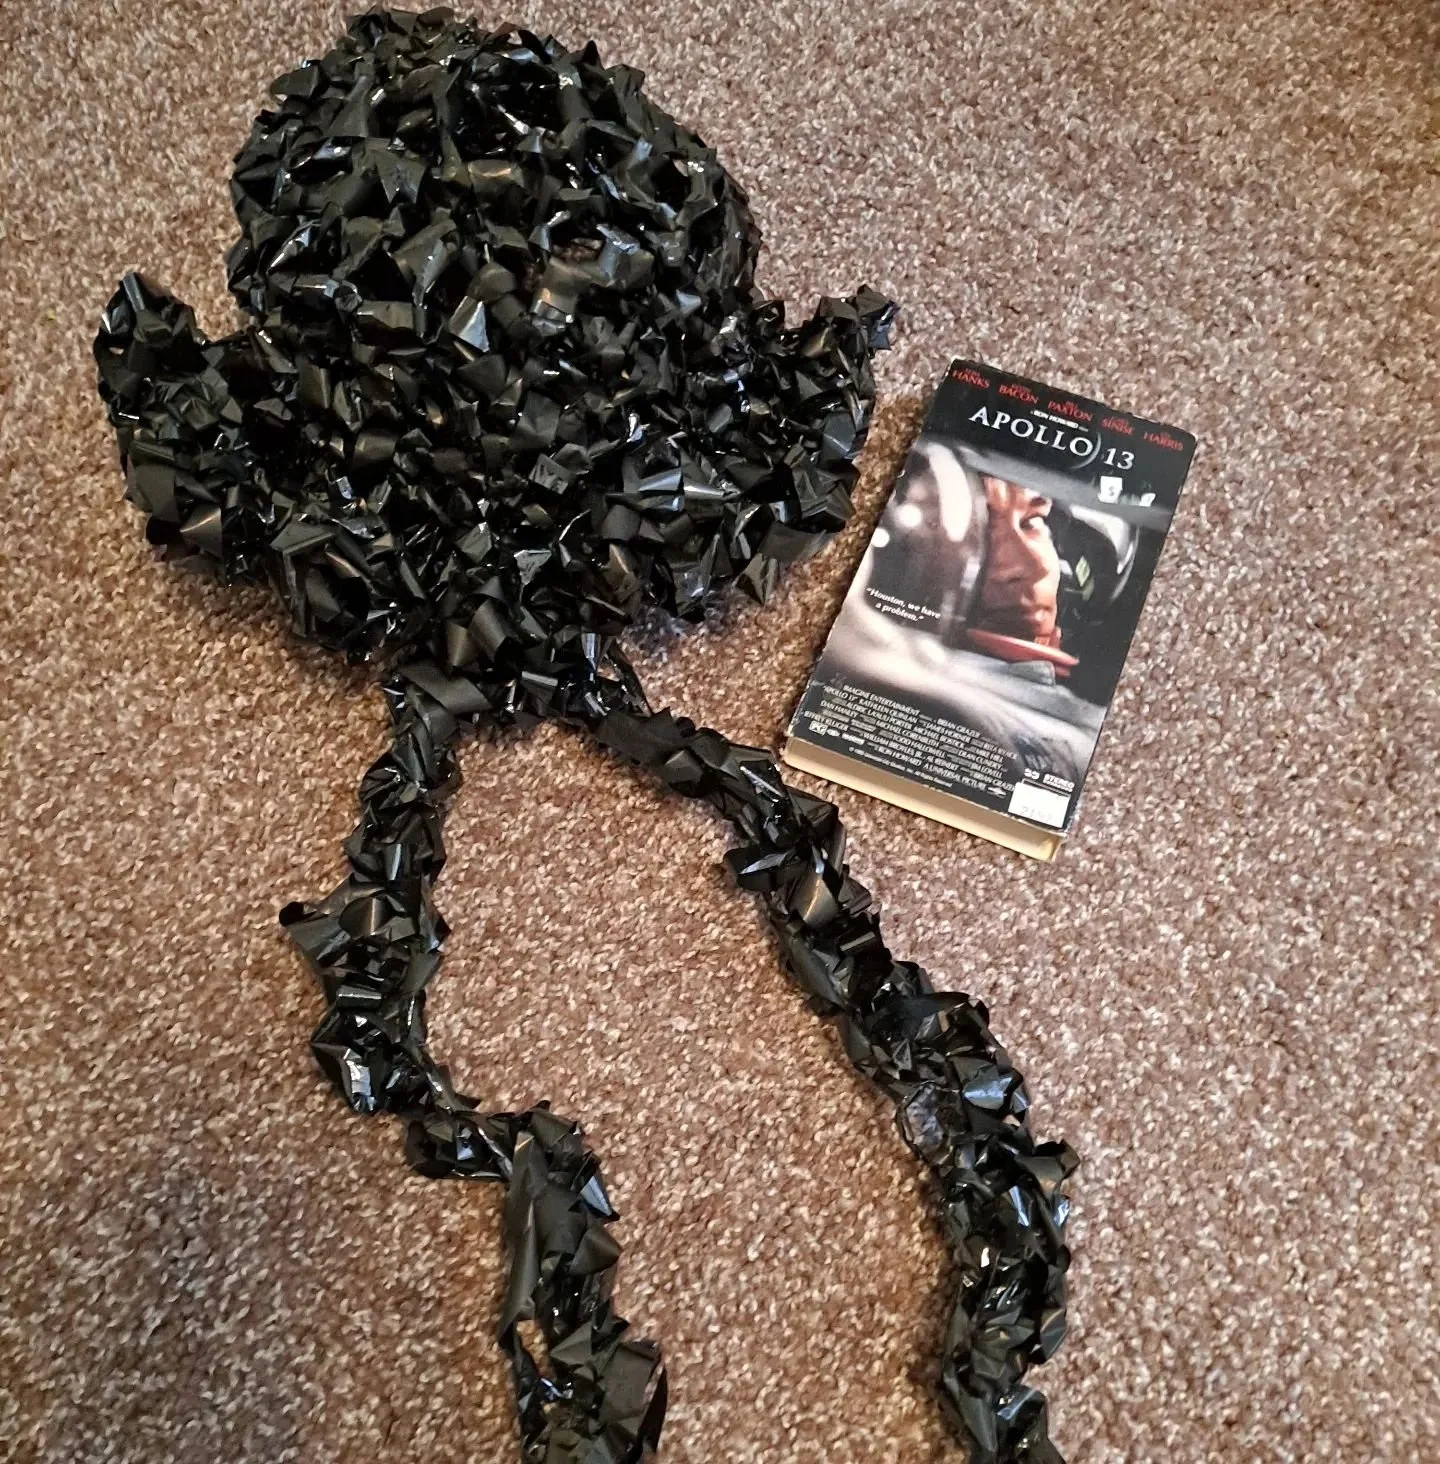
I’ve also taken a trip down the video tape rabbit hole and created a jelly fish out of Apollo 13. I lightly wired the inner rim of the jellyfish to give it a little structure and I need to make a few more tentacles. I also have a box of audio cassettes that I need to start playing around with.

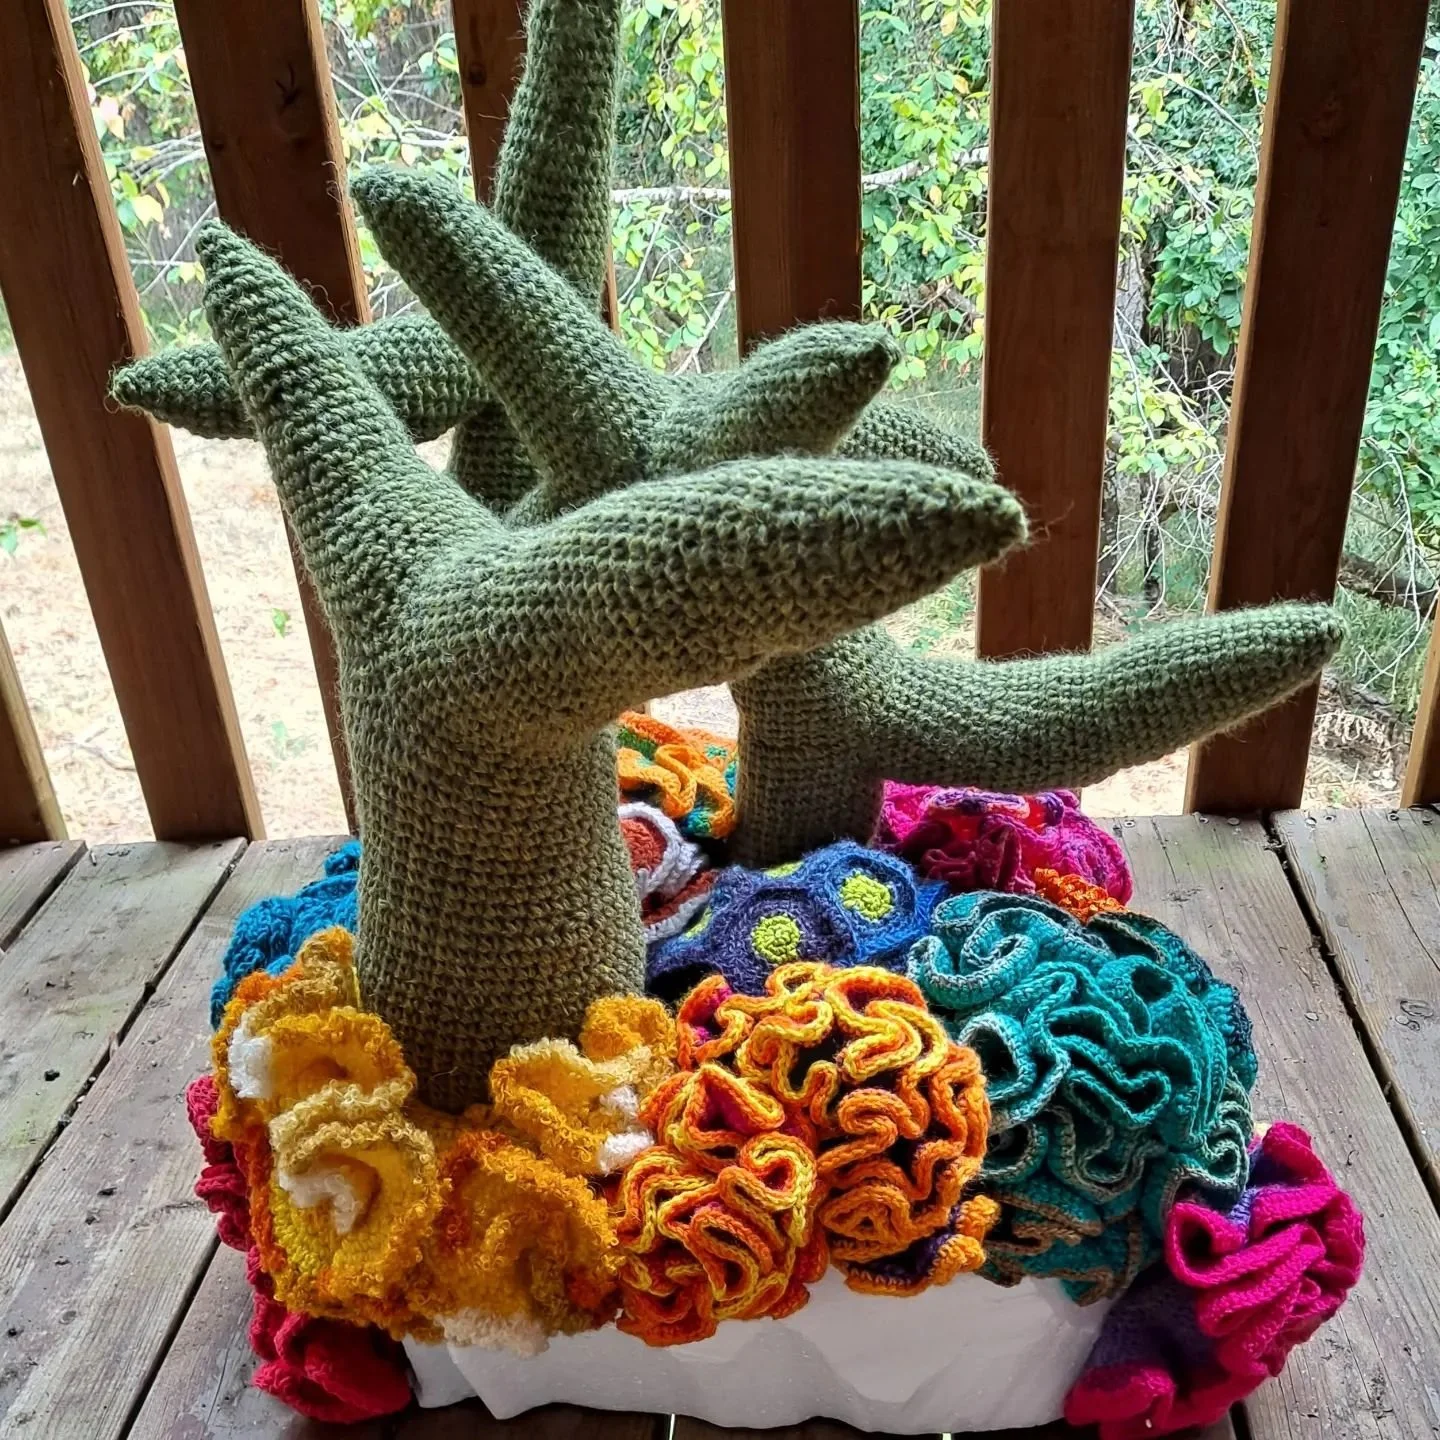
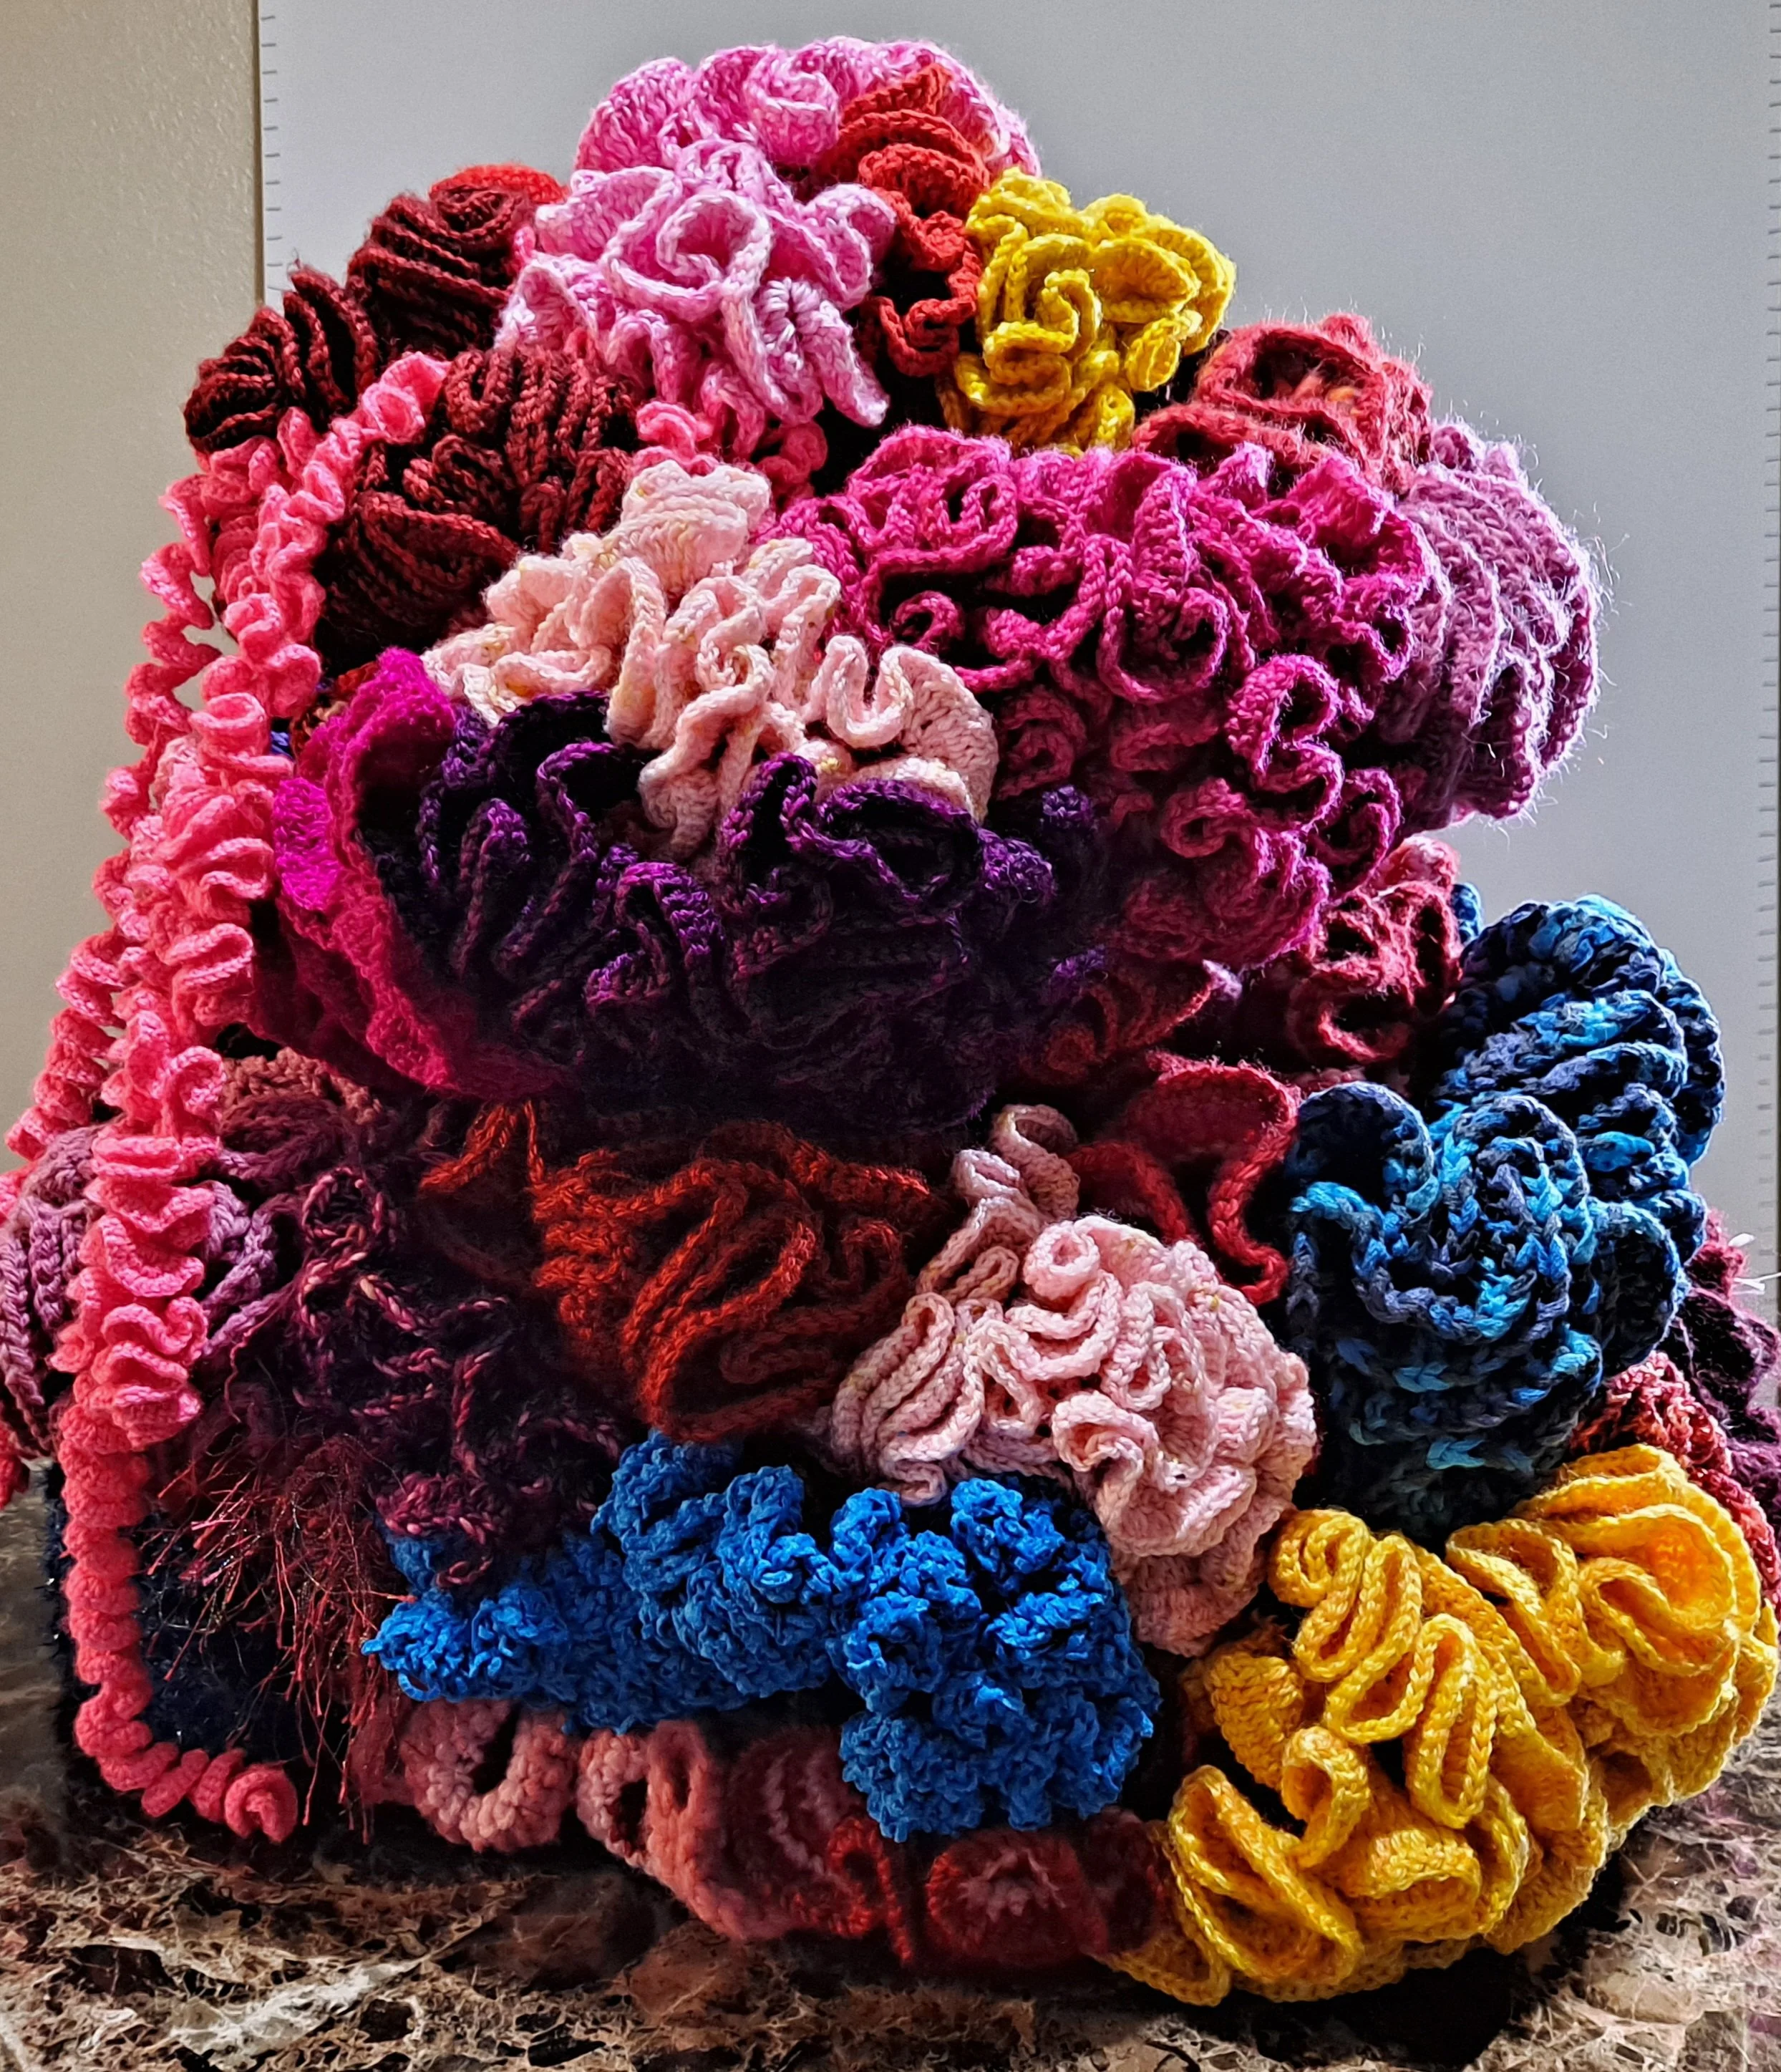
Another vignette I am working on is for the staghorn corals that I have created. This piece has hyperbolics from many different reefers (my favorite name for our reef crafters) and I think it is coming along nicely.

When I was at the Eugene Textile Center yesterday for our crafting day, I brought a small selection of bleached corals to go with my wired reef and they looked so nice together. If you are looking for your next idea for what to make for the reef, I would encourage you to consider more bleached corals that have a little height to them.

It is now exactly one year until we will have our reef up at the Lincoln City Cultural Center. It seems both fantastic and frightening. Keep crafting your corals everyone!


The Great Oregon Coast Coral Hunt by CHRISTINA HARKNESS

First of all, this was not my idea but I am piggybacking off it because it is both fun and brilliant. It was originally the idea of Kim over on Instagram who has been making a TON of corals for our project.

This Saturday, I am going to take a trip down the Oregon coast and play a game of Finders/Keepers with some baby corals that I have been creating. Kim spread some on the northern Oregon coast and is even taking some over to Italy!

I will be keeping my baby corals a little closer to home as I travel from Newport down to the southern border of Oregon on Saturday, September 3rd. I will be dropping clues on my Instagram and folks in that area can seek it out and hopefully post it to their social media with the #pnwcommunitycoralreef hashtag.

I’ve been making quite a few and today I finished my Charlie Bucket Golden Coral.

I already have a couple of ideas of where to hide corals that have either interesting or funny history. and maybe one or two places that I would like to encouraged people to visit!

So follow me on Instagram on Saturday if you are anywhere along the mid to southern coast and follow Kim if you are farther up north! Let’s have some fun!


Fishing for Content by CHRISTINA HARKNESS

Once upon a time, I thought I would update this blog once a week. Guess what? I am, at times, prone to mass delusion. It appears that once a month is more my style.

As mentioned in an earlier post, I have been working on a crocheted tube which I wired up with armature wire and am adding hyperbolics all around its edges. I was going to wait until I had the entire tube encased in hyperbolics to thread the wire through it but excitement and curiosity got in the way of common sense and I have wired it up and I continue to work on it.

At first, I was still attempting to crochet along the edge of the initial tube but I have since decided to crochet long lengths of hyperbolics and then sew them into place.

The initial crocheted tube was 10 feet long . I crocheted a long rectangle, folded it over it was large enough to go around my pinky finger comfortably, and then I crocheted it closed on one side. That idea has now grown into what feels like a living coral piece on a reef. And what does a coral piece need? Fish!

Although I am still adding hyperbolics, I needed a little break and so I decided to create my first fish for this piece of the reef. One thing I learned from my Coral Canyon project was how to make, what I inelegantly call a “kissy fish”. My favorite fish, and my favorite photo of my work. is this critter:

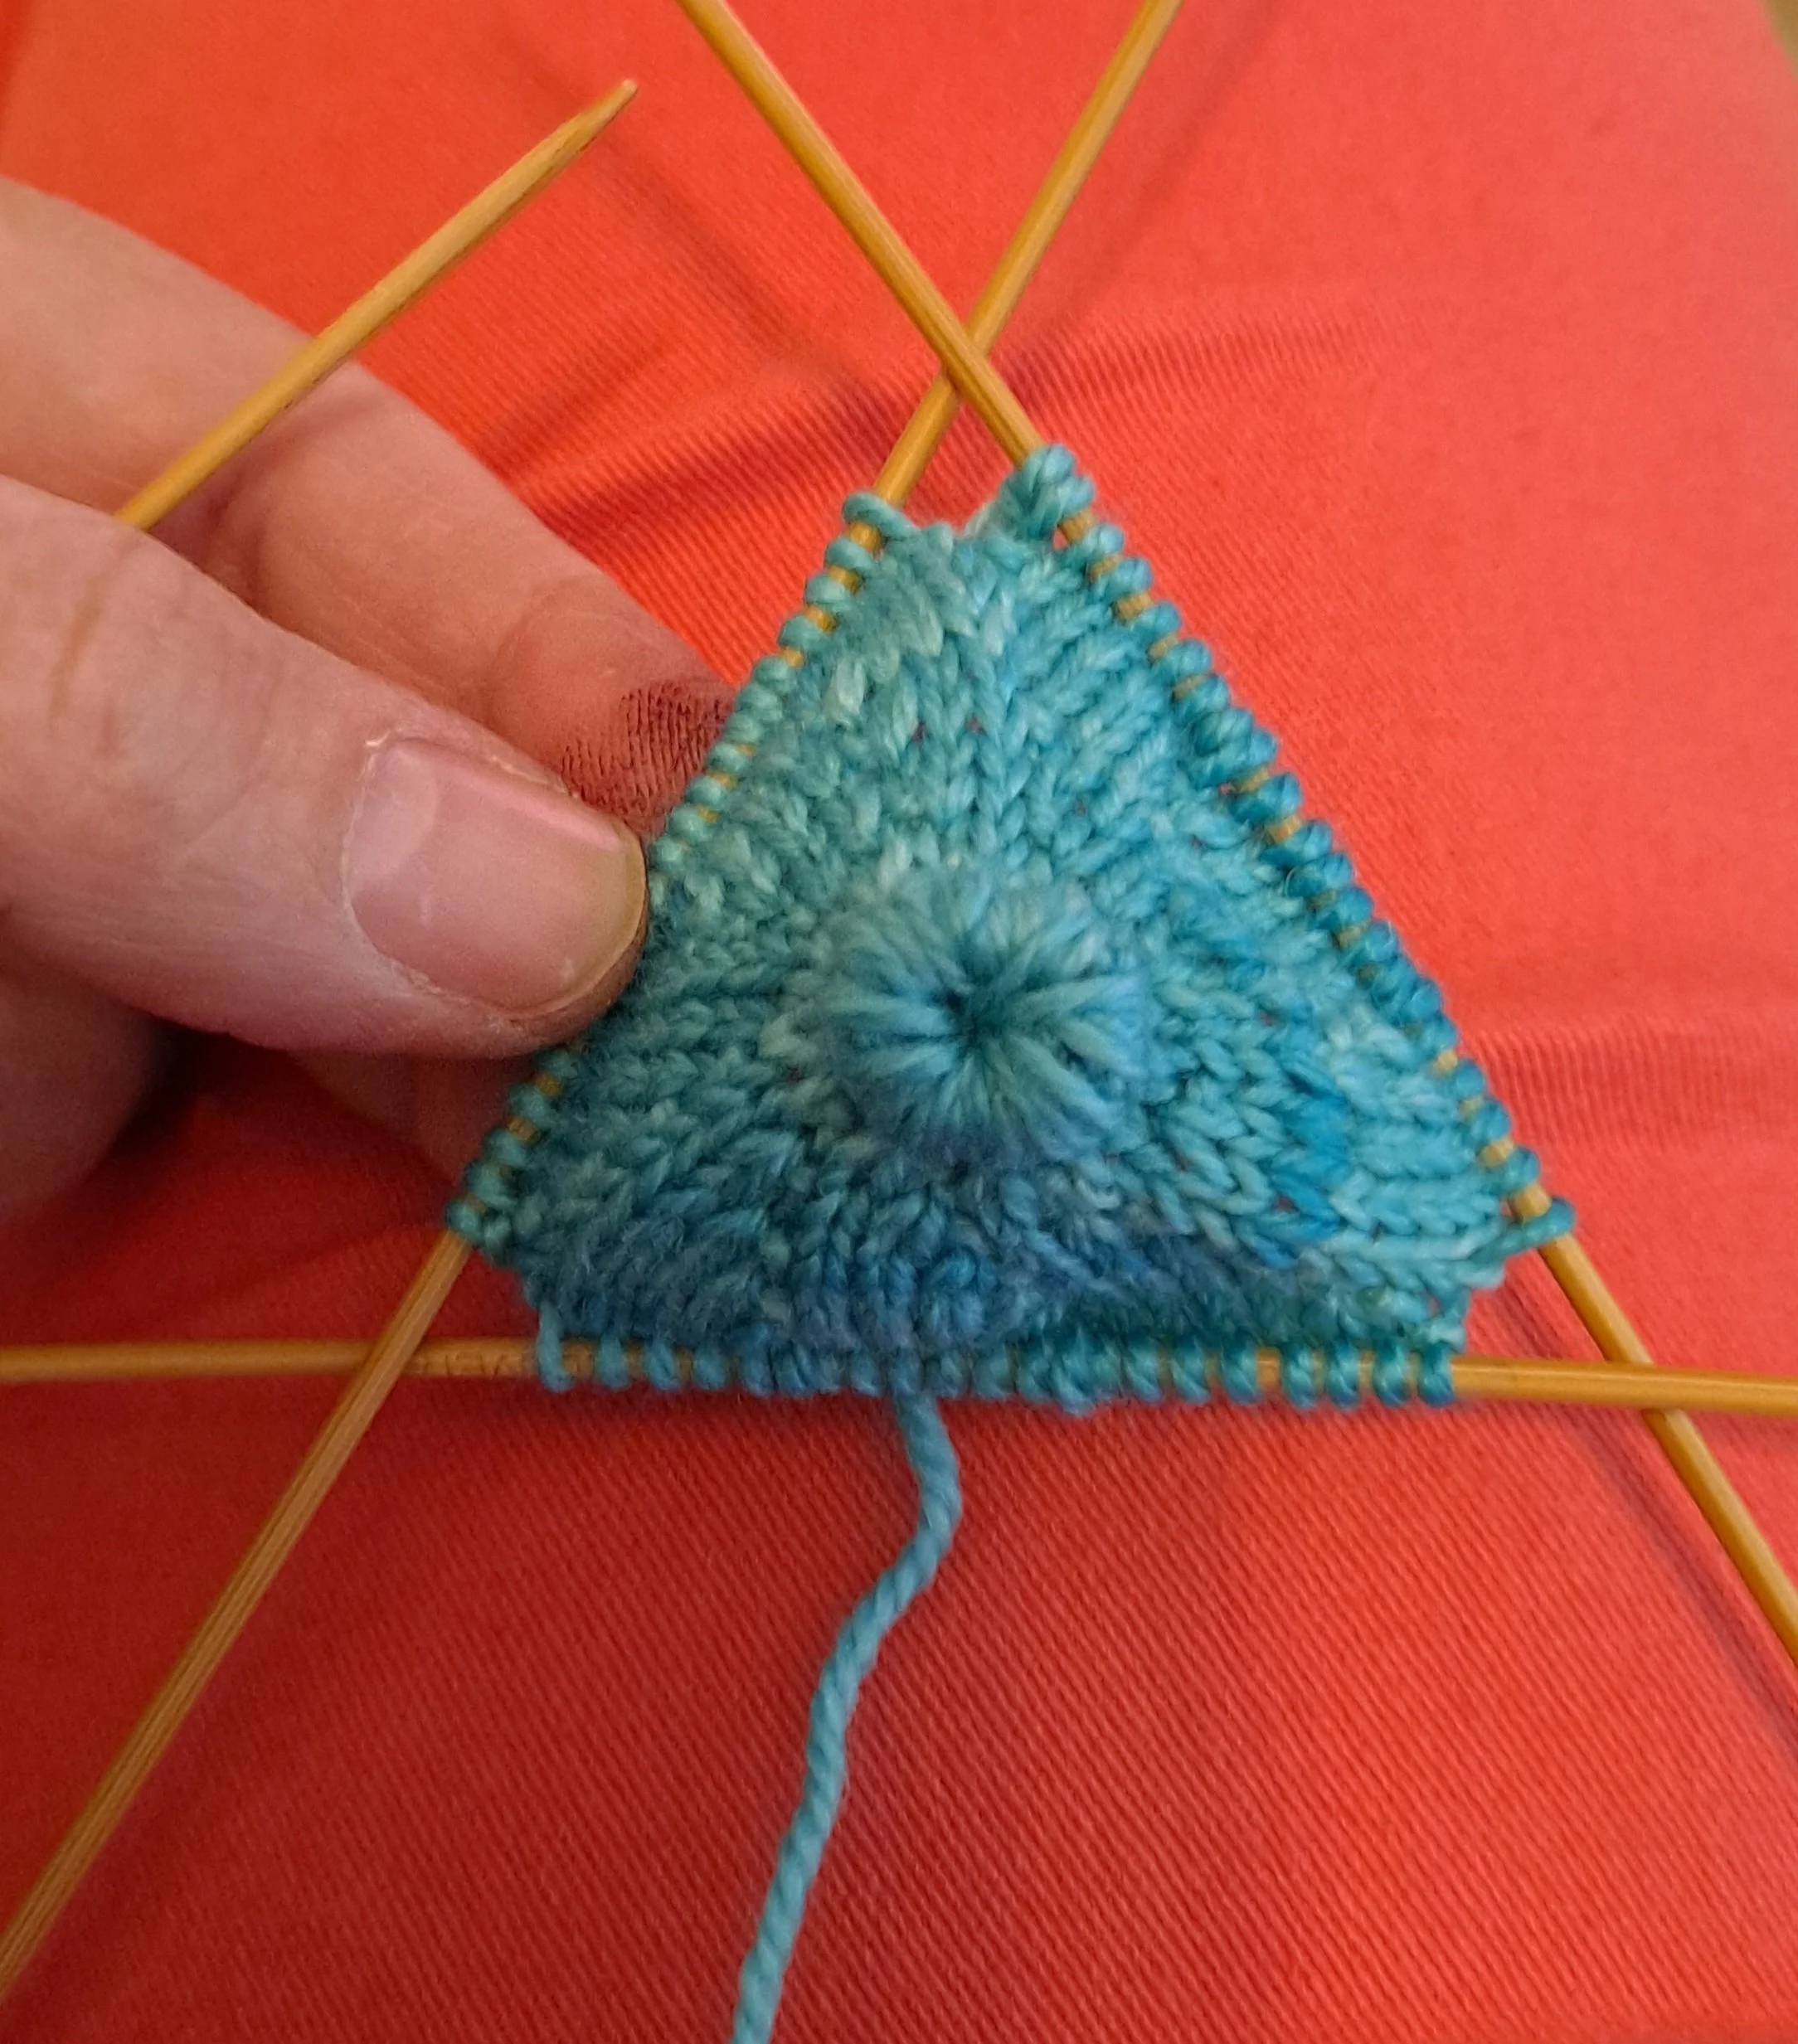
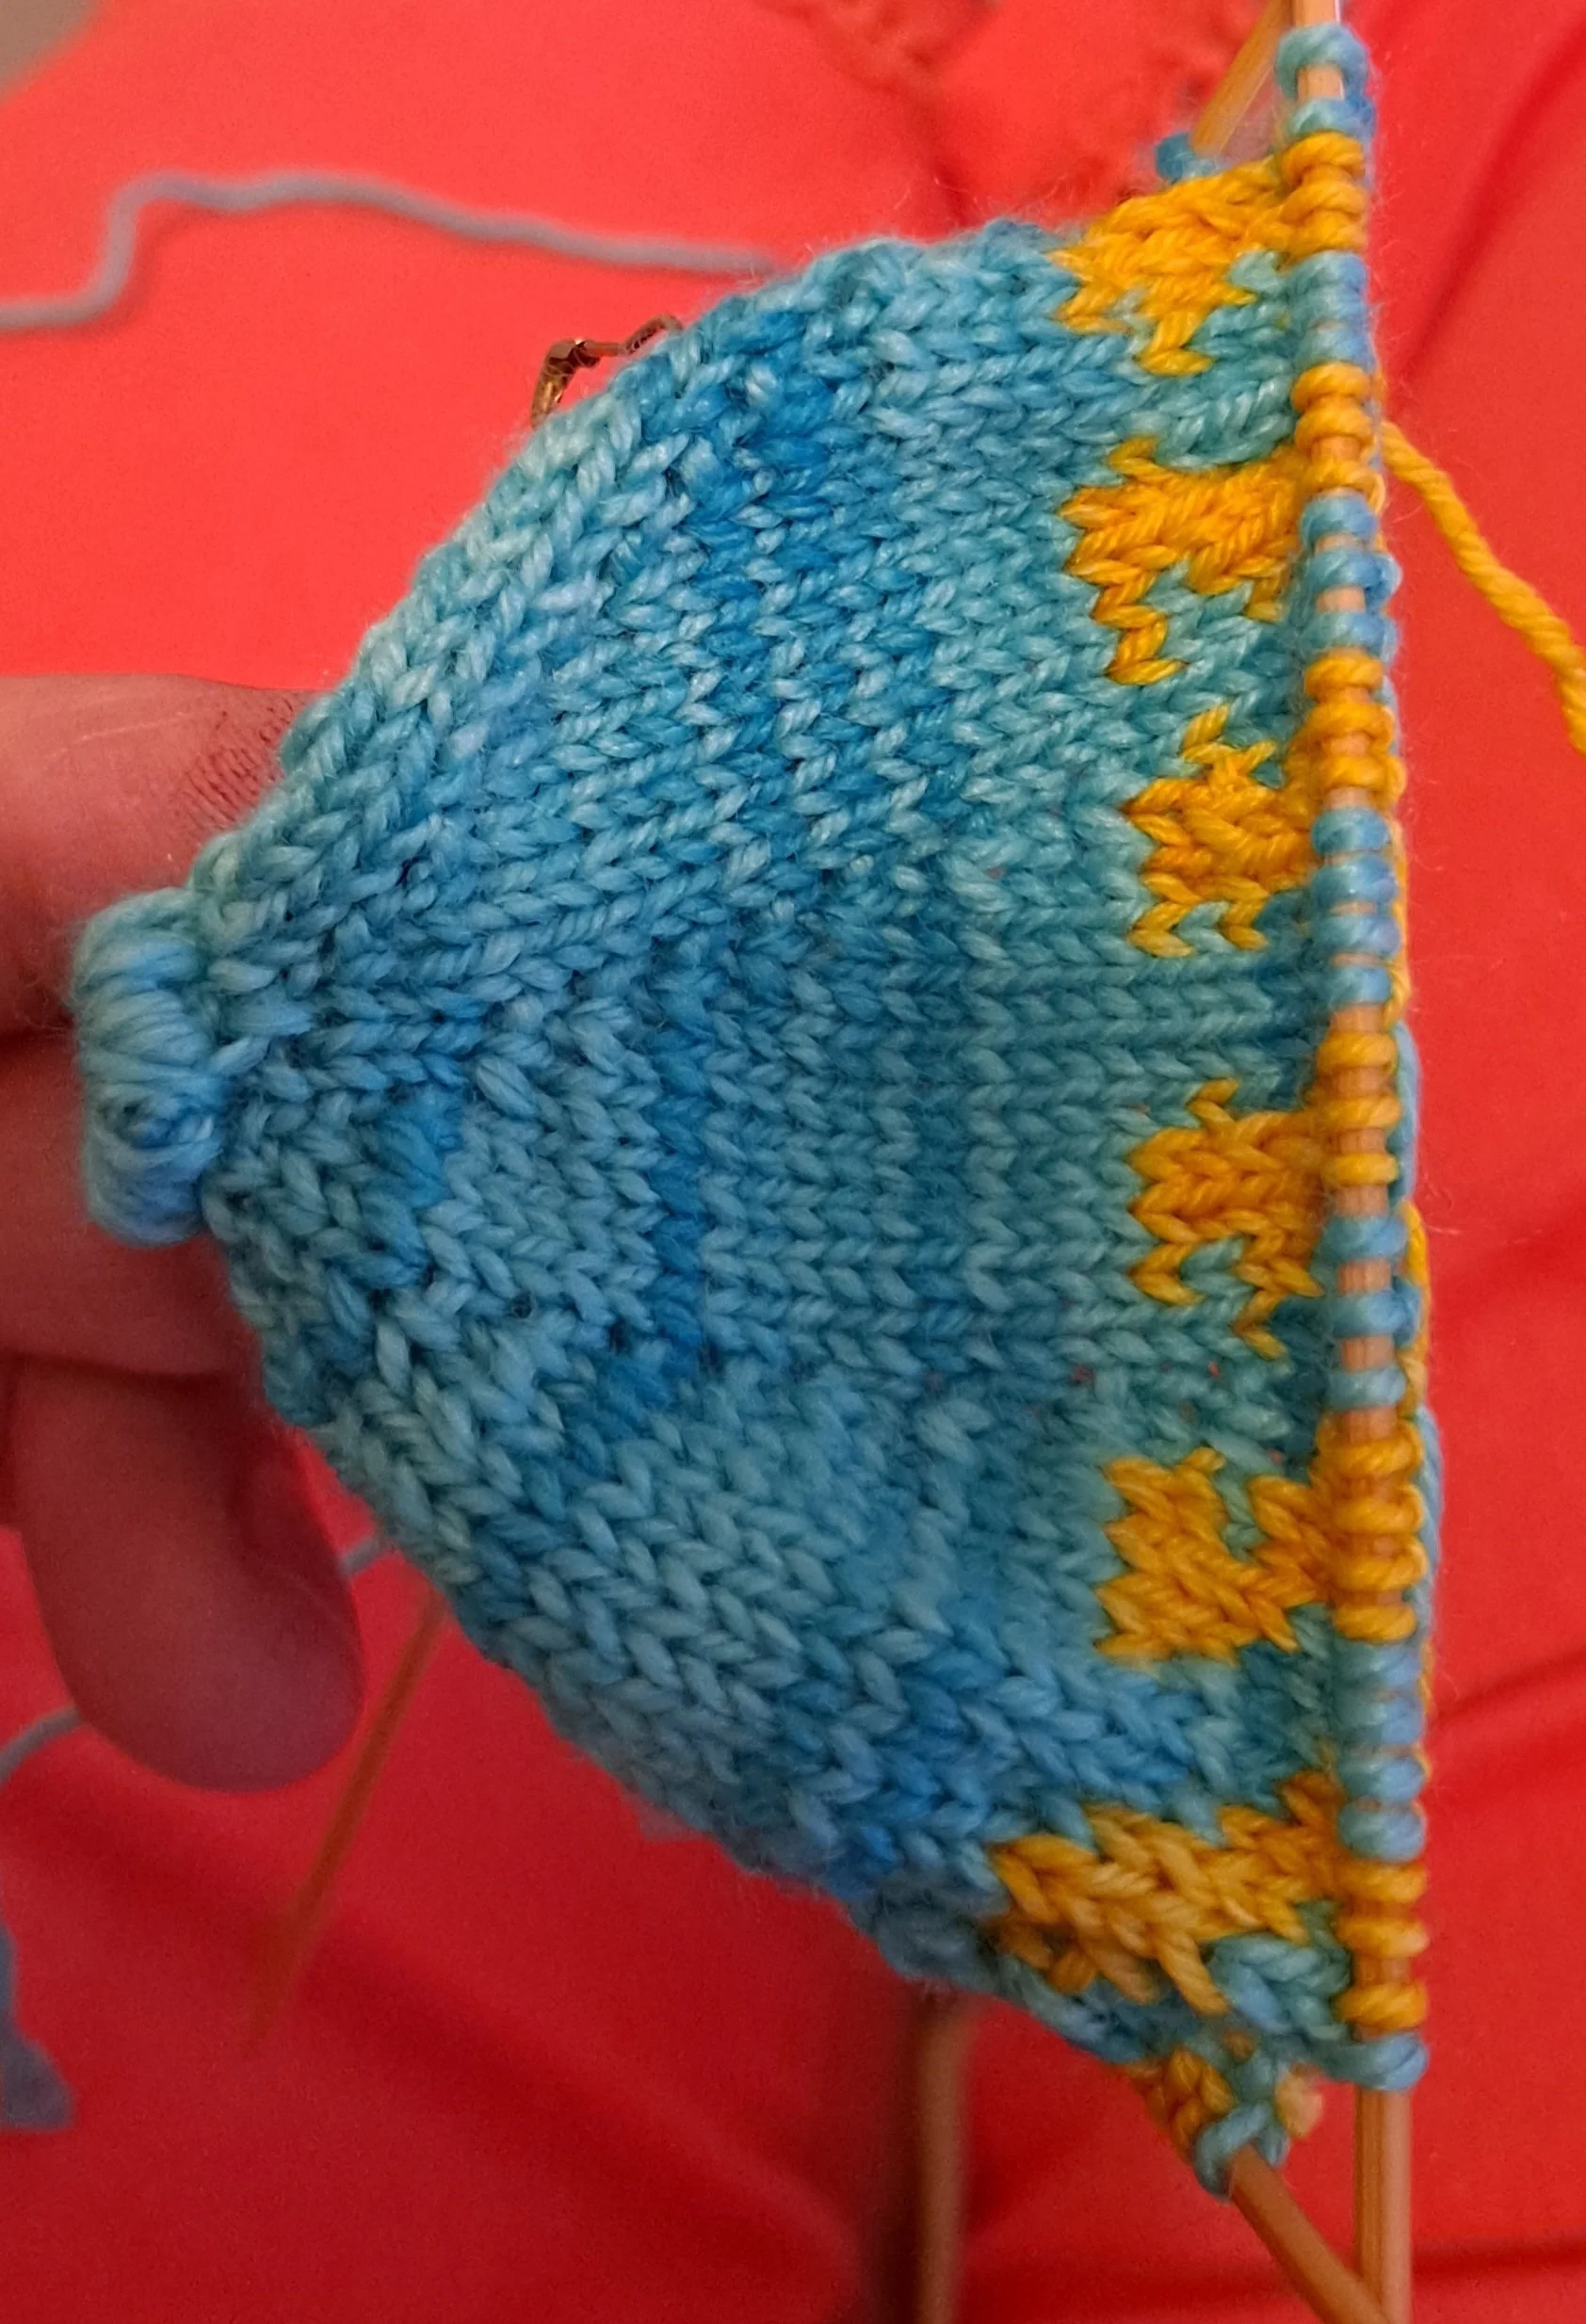
I don’t usually write down patterns and I tend to knit my fish over crocheting them. For my kissy fish, I cast on between nine and twelve stitches and knit in stockinette stitch for an inch or so. I then increase into each stitch and spread those stitches over three needles and start knitting in the round. The rate of increasing after that is up to how you want your fish to be shaped. If you increase in every row, you will have a flat surface which may not be what you want. If you want a plump fish like the one above, you will want to increase into every other row. If you want more of a triangular slope, increase into every third row. Your increases should be the standard increases that you would do for a top down hat. First row, increase into every stitch, knit one row. Next row, knit one, increase one all the way around, Knit one row. Next row, knit two stitches and increase into next stitch all the way around, knit one row…et cetera

After a few rows, I will go back and shape the lips. I do this now because I am going to knit this fish as an enclosed tube and will stuff it and then knit it shut. If I wait until I have half the body knitted, there will just be more fabric to get in my way.

I will take the initial inch or so at the beginning and sew the side seam up. I then roll the tube outward and down until it reaches the face.

You will then take a yarn needle, threaded so you have two strands of your yarn, and you will bring it up through the open tube and over the lips to the underside of the tube. Keep doing this all the way around the lips until you can’t see any of your tube underneath. Gently sew the lips closed inside the body and tie your yarn off and you are ready to proceed with the rest of your fish.

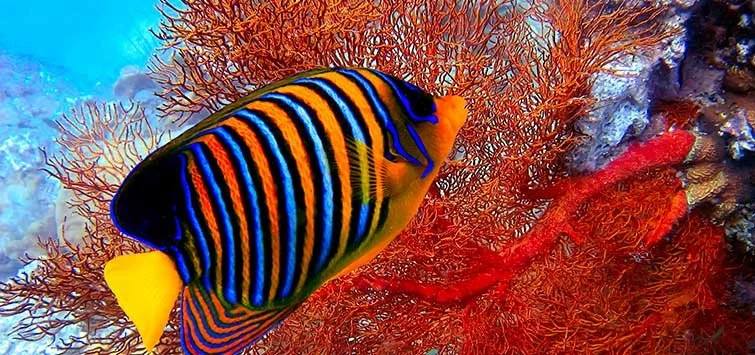
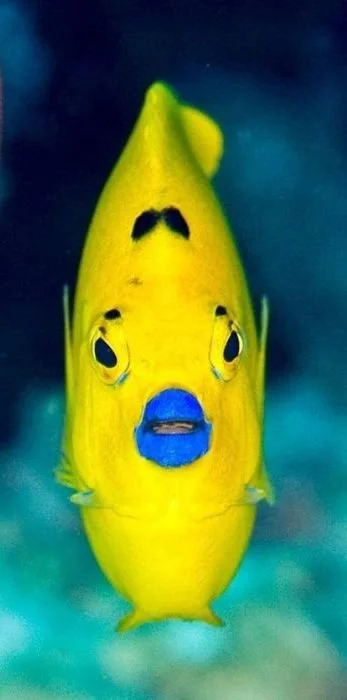
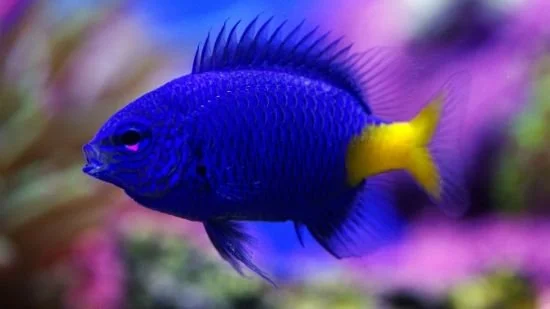
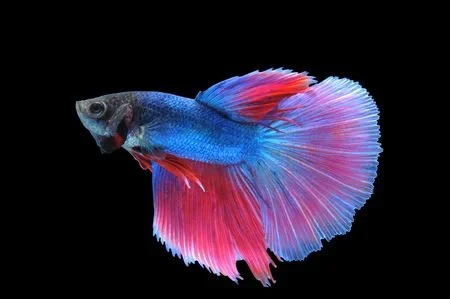
Whenever I am planning a fish, I will go online and search out fish images in the yarn color that I have. Sometimes I am faithful to a specific species and sometimes I just riff on reality. For my blue fish here, I just wanted a little inspiration without being biologically perfect.

I needed to decide if I wanted stripes and if so, what direction I wanted them to go in.

Yes, it is easier to have the stripes going around the body rather than head to tail but sometimes I love a challenge.

You might even consider a little lipstick for your fish.

Or perhaps wider stripes.

Or maybe no stripes and just a colorful tail.

Remember when I said increasing every row would give you a flat surface?

Maybe your fish will actually need that flat surface for a couple of rows because FISH CAN BE WEIRD.

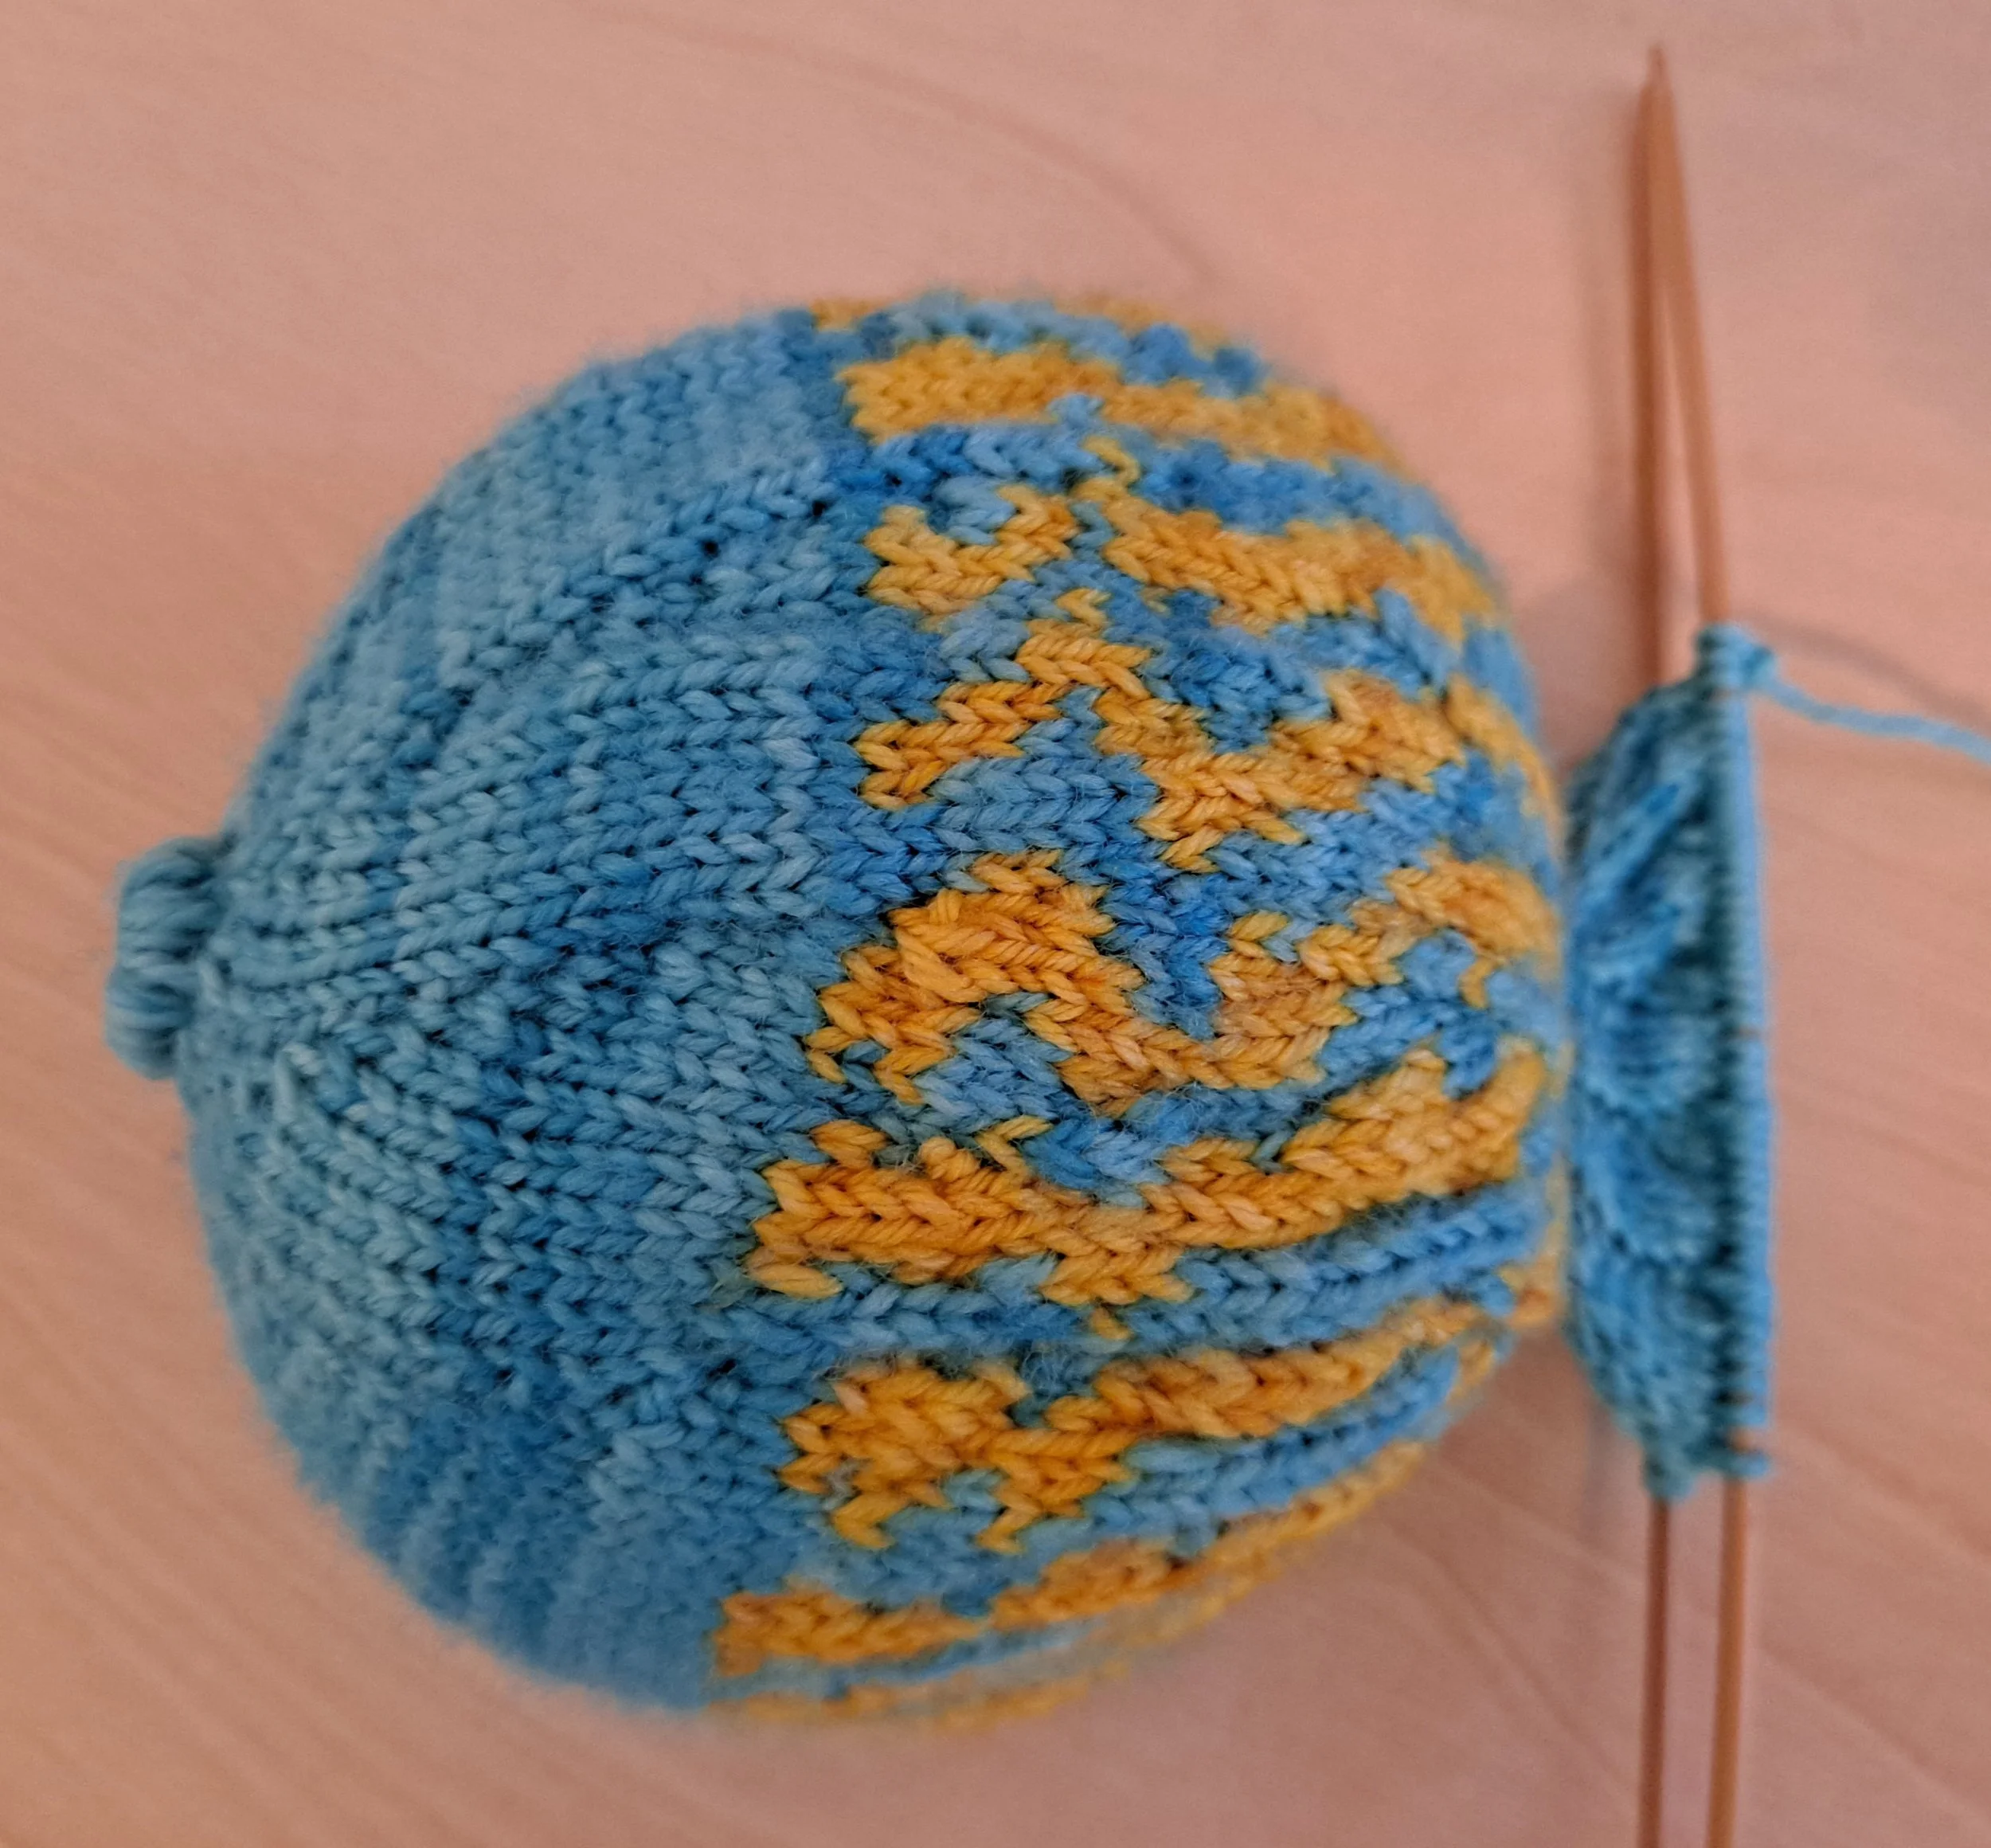
For my fish, I went with head to tail stripes. They are random because some fish are rebels and refuse to color within the lines. (Yay fish!)

For the body, I increased every other row until it was as plump as I wanted and then I knit an inch or so without any increases. When I got to where I wanted to decrease, I decreased every other row for a few rows and then decreased every row until I got down to the last nine to twelve stitches. With those stitches still on the needle, I soaked the fish in water and stretched the body out with my fingers to block the color knitting. After it dried overnight, I stuffed the body and went on to the tail.

My goal was to have a tail that looked like it was in motion and I do believe I failed on this point. I increased in every row and I ended up with too much ruffle. If I had to do it again, I would increase into every second row and given it a more triangular tail. All that being said, check out a few fish tails and see what strikes your fancy. I also added a little eyelash yarn at the end of the tail and fins to bling it up a bit.

If you are going for a more traditional triangular shaped tail, just think about where you need to cast off stitches in the center and continue to knit on the ends. If you just think about your fish as a series of increases/decreases/ cast on/cast off shaping, you can usually puzzle out what should happen.

I do suggest writing down what you do when you come to the tail so that you can replicate it on the other side. If you are unsure whether what you have planned will work out, thread a lifeline through your fish’s stitches before even starting the tail. This can give you a lot more confidence to be experimental.

Fins are quite easy. Just take note of their shape and proportion to the rest of the body. I usually make my fins so that the piece will be folded over and sewn shut and then sewn to the fish’s body as it makes them sturdier and more realistic.
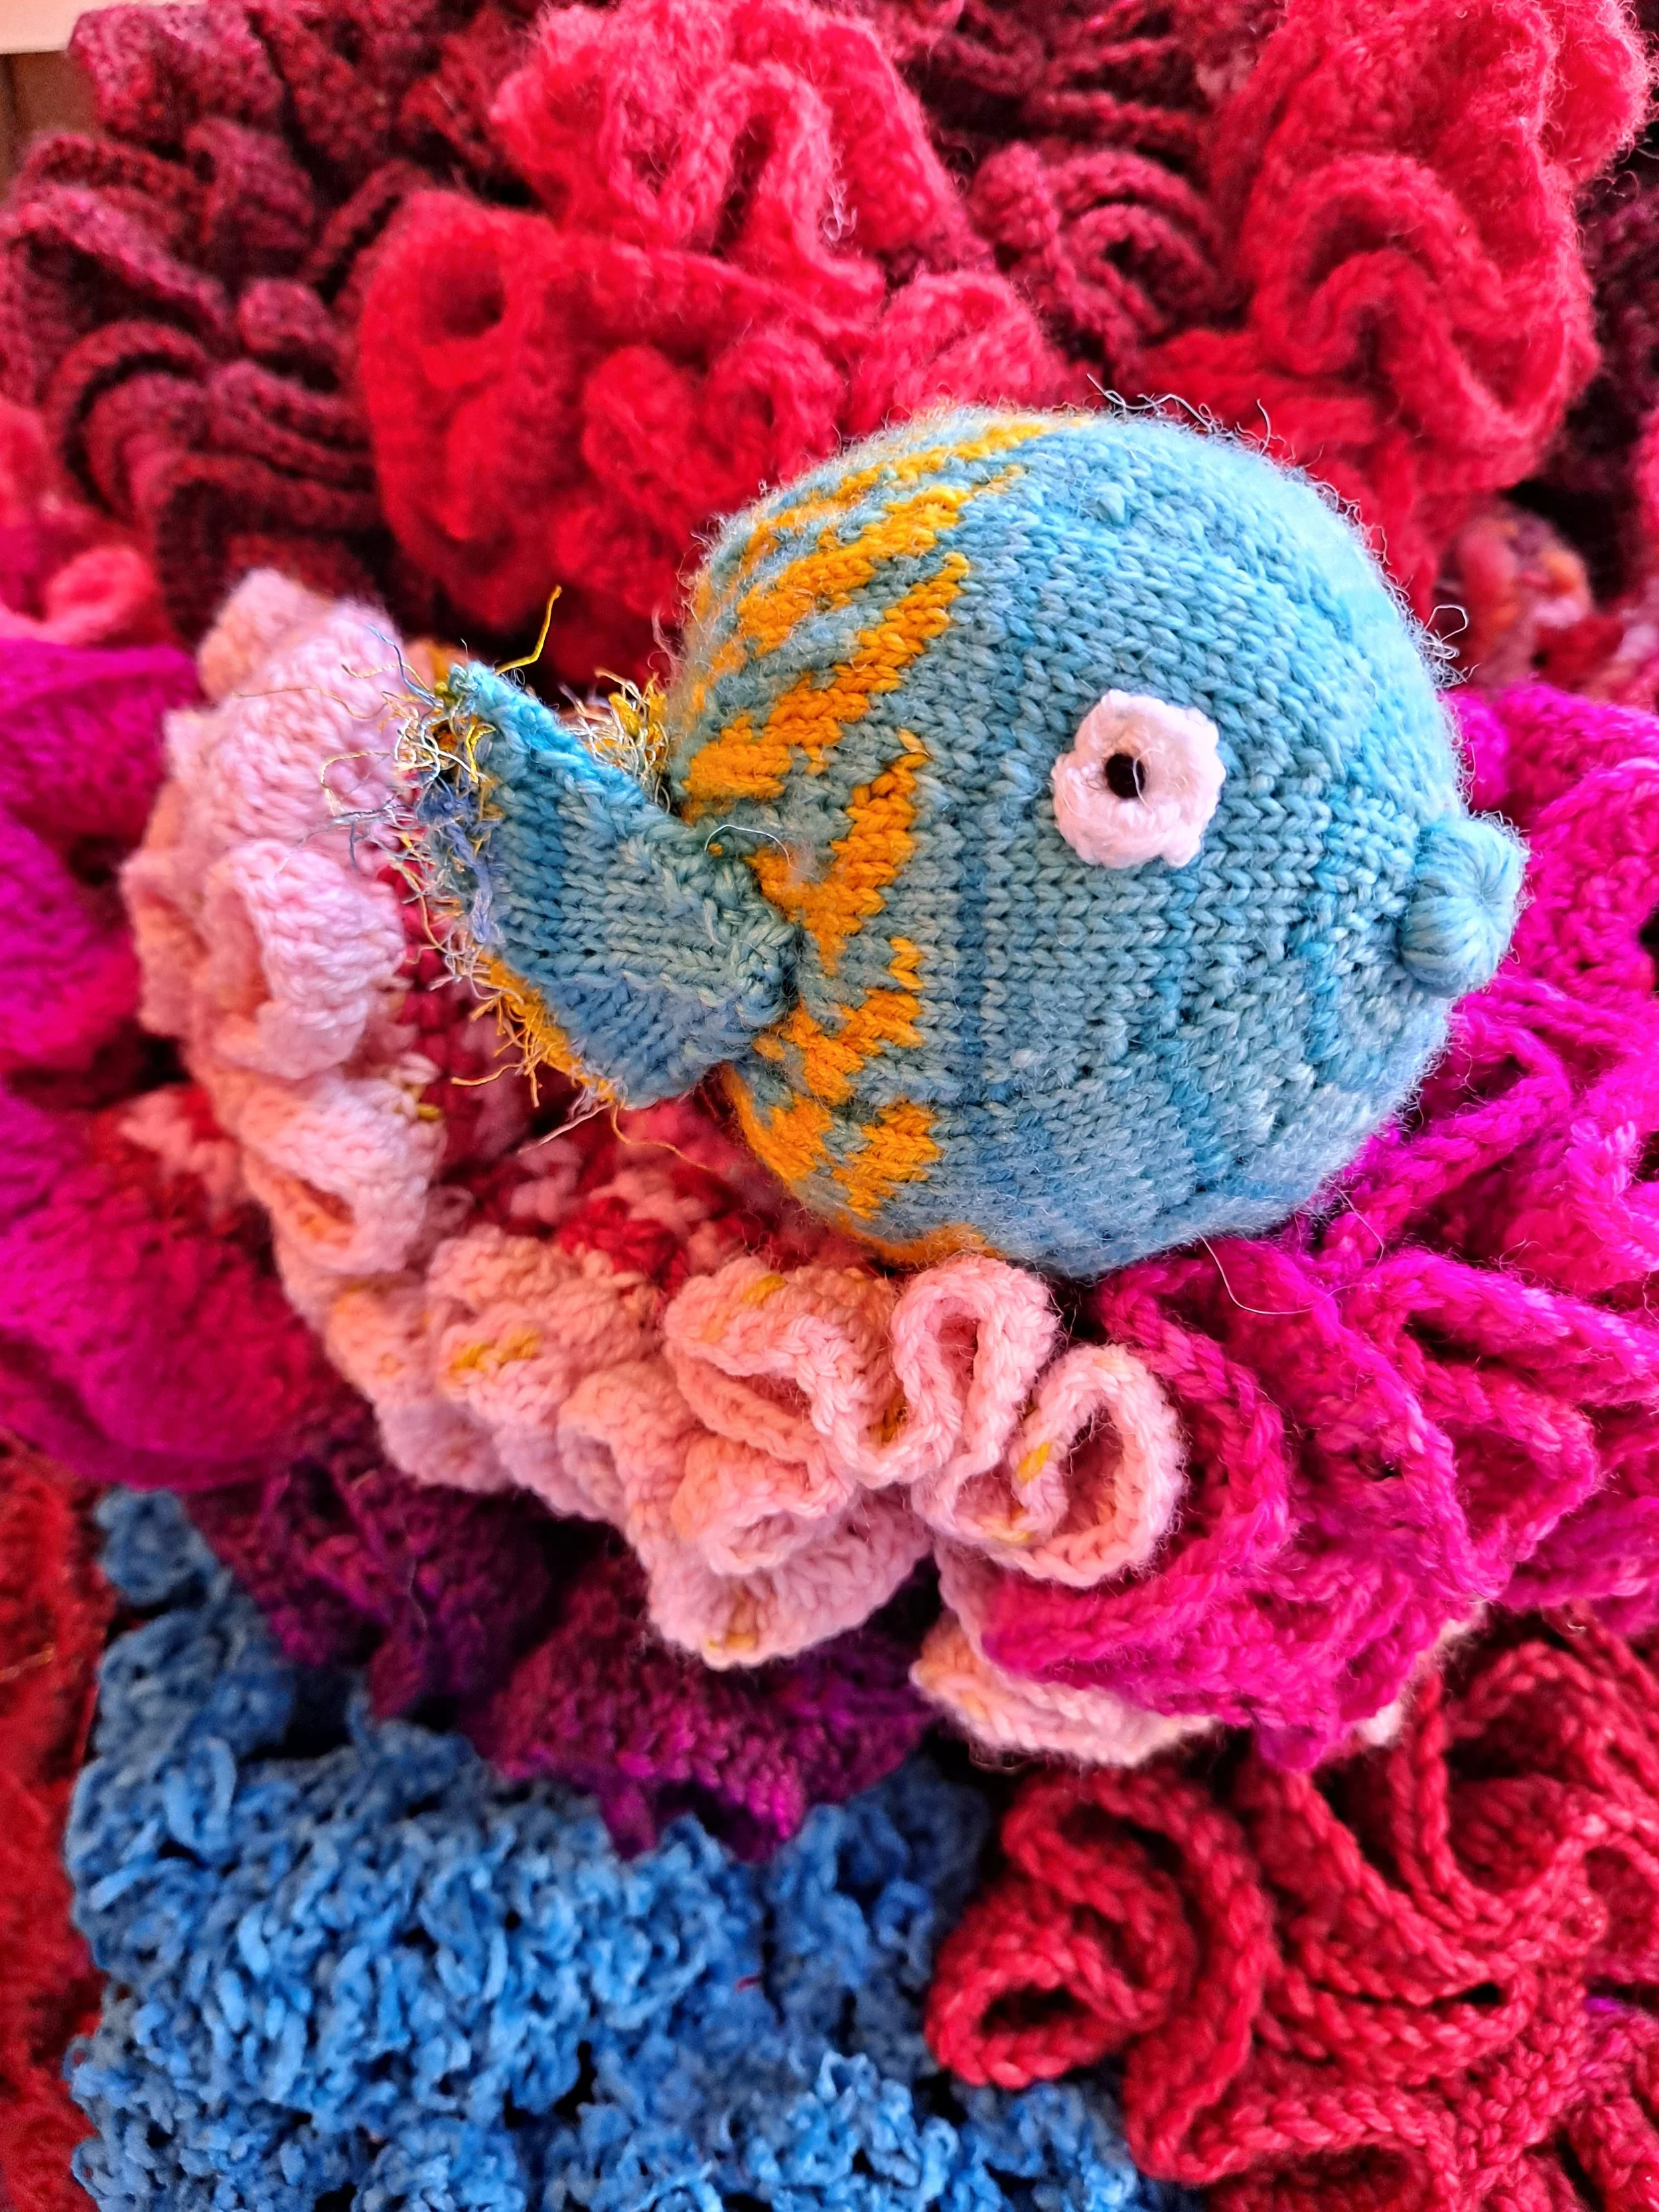
Even if I knit my fish, I usually crochet the eyes. You can do whatever you need to do to create the round eye shape but if you are knitting it, I would consider knitting it on two needles back and forth and then sewing up the little seam at the end. For me, there is nothing more miserable than trying to wrangle four size 1 needles with fingering weight yarn while trying to make an eye that only lasts perhaps six rounds. When I crochet, it is usually creating a circle after three chains and then crocheting into the center loop for eight or so single crochets and then binding off.

For the center of the eye, I usually use two strands of black yarn and do a French knot, connecting the two eyes inside the fish’s head loosely because it is easier than threading the needle twice. It also allows you to tighten this distance between the eyes if your fish needs a little sculpting or expression.

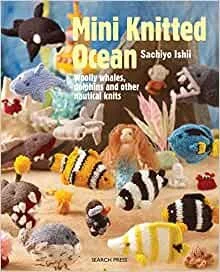
After all this, if you are totally out of your comfort zone and would like actual well written patterns to follow, I highly recommend this book. She will give you options for body types and colors and techniques that you can master and then go forward and create your own fish.

Most importantly, have fun!

In Situ by CHRISTINA HARKNESS

I wanted to share a quick glimpse of some of our corals in their rightful place near the sea. On National Knit in Public Day, I decided to bring “knts (and crochets) in public by taking a few pictures. I rather liked the results.