Once upon a time, I thought I would update this blog once a week. Guess what? I am, at times, prone to mass delusion. It appears that once a month is more my style.
As mentioned in an earlier post, I have been working on a crocheted tube which I wired up with armature wire and am adding hyperbolics all around its edges. I was going to wait until I had the entire tube encased in hyperbolics to thread the wire through it but excitement and curiosity got in the way of common sense and I have wired it up and I continue to work on it.
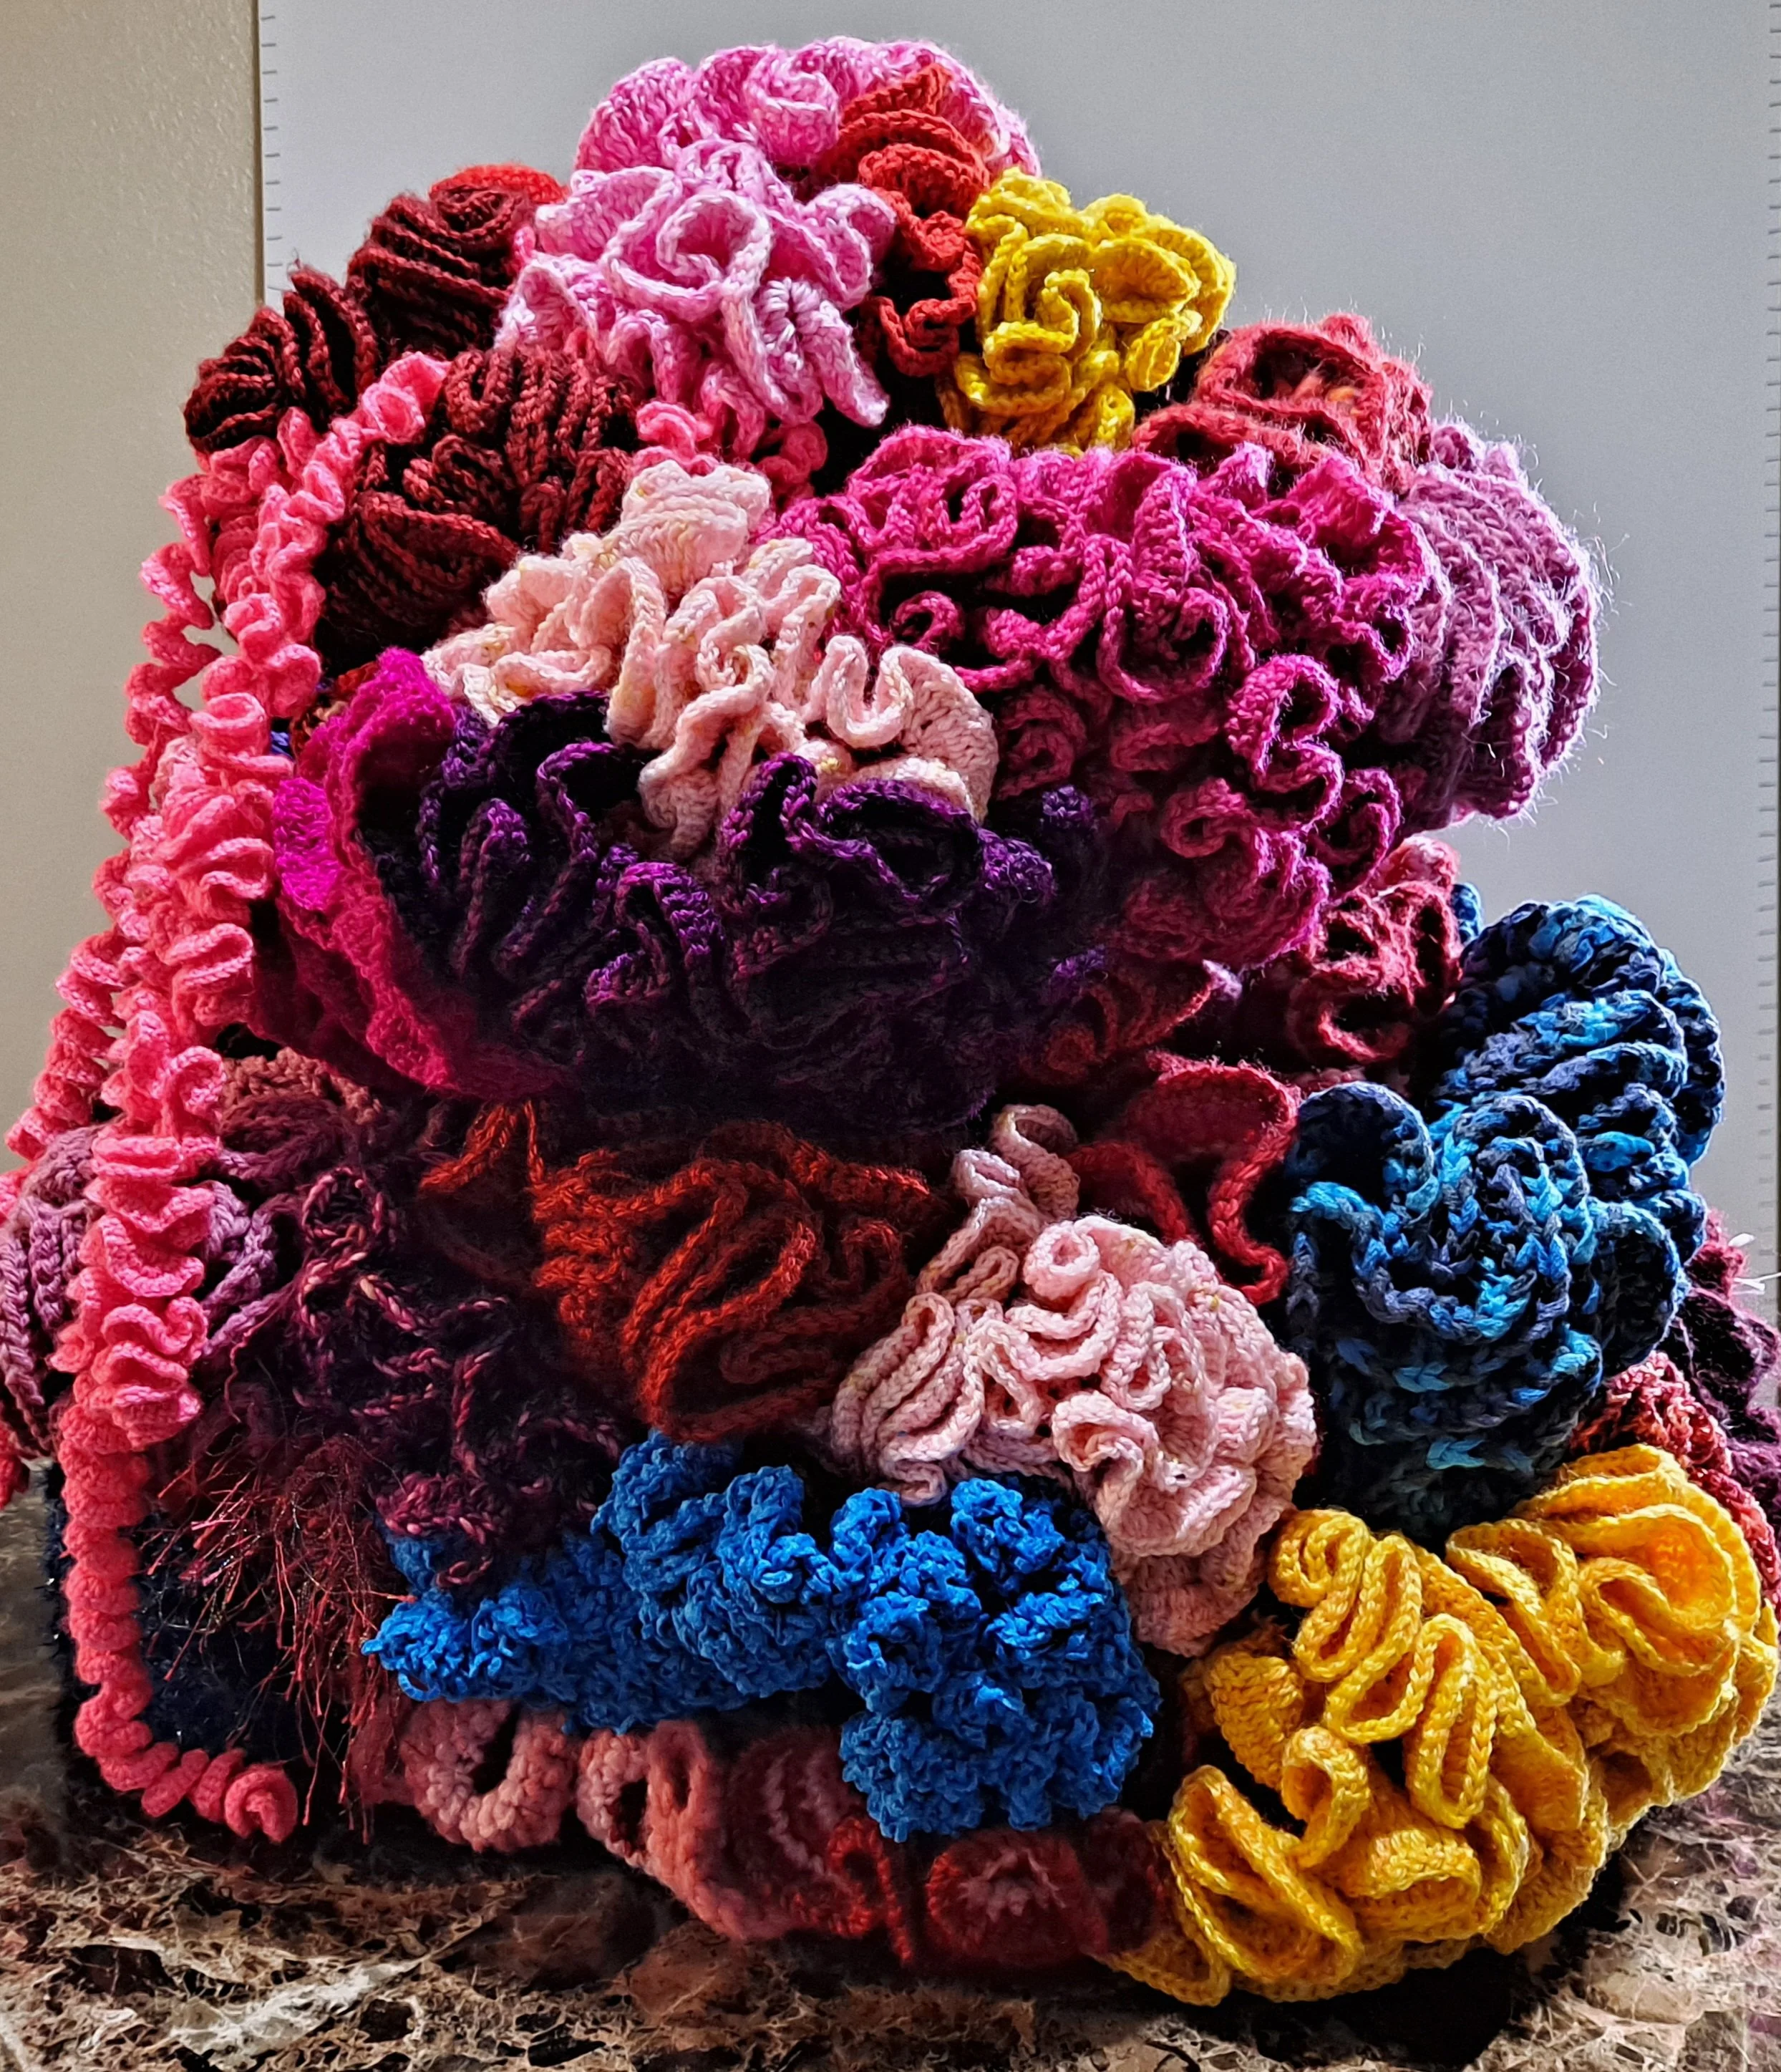
At first, I was still attempting to crochet along the edge of the initial tube but I have since decided to crochet long lengths of hyperbolics and then sew them into place.

The initial crocheted tube was 10 feet long . I crocheted a long rectangle, folded it over it was large enough to go around my pinky finger comfortably, and then I crocheted it closed on one side. That idea has now grown into what feels like a living coral piece on a reef. And what does a coral piece need? Fish!

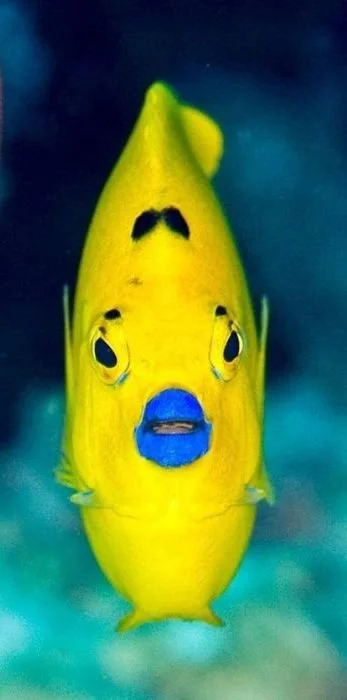
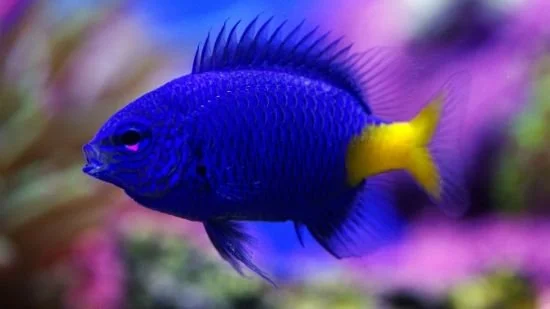
Although I am still adding hyperbolics, I needed a little break and so I decided to create my first fish for this piece of the reef. One thing I learned from my Coral Canyon project was how to make, what I inelegantly call a “kissy fish”. My favorite fish, and my favorite photo of my work. is this critter:

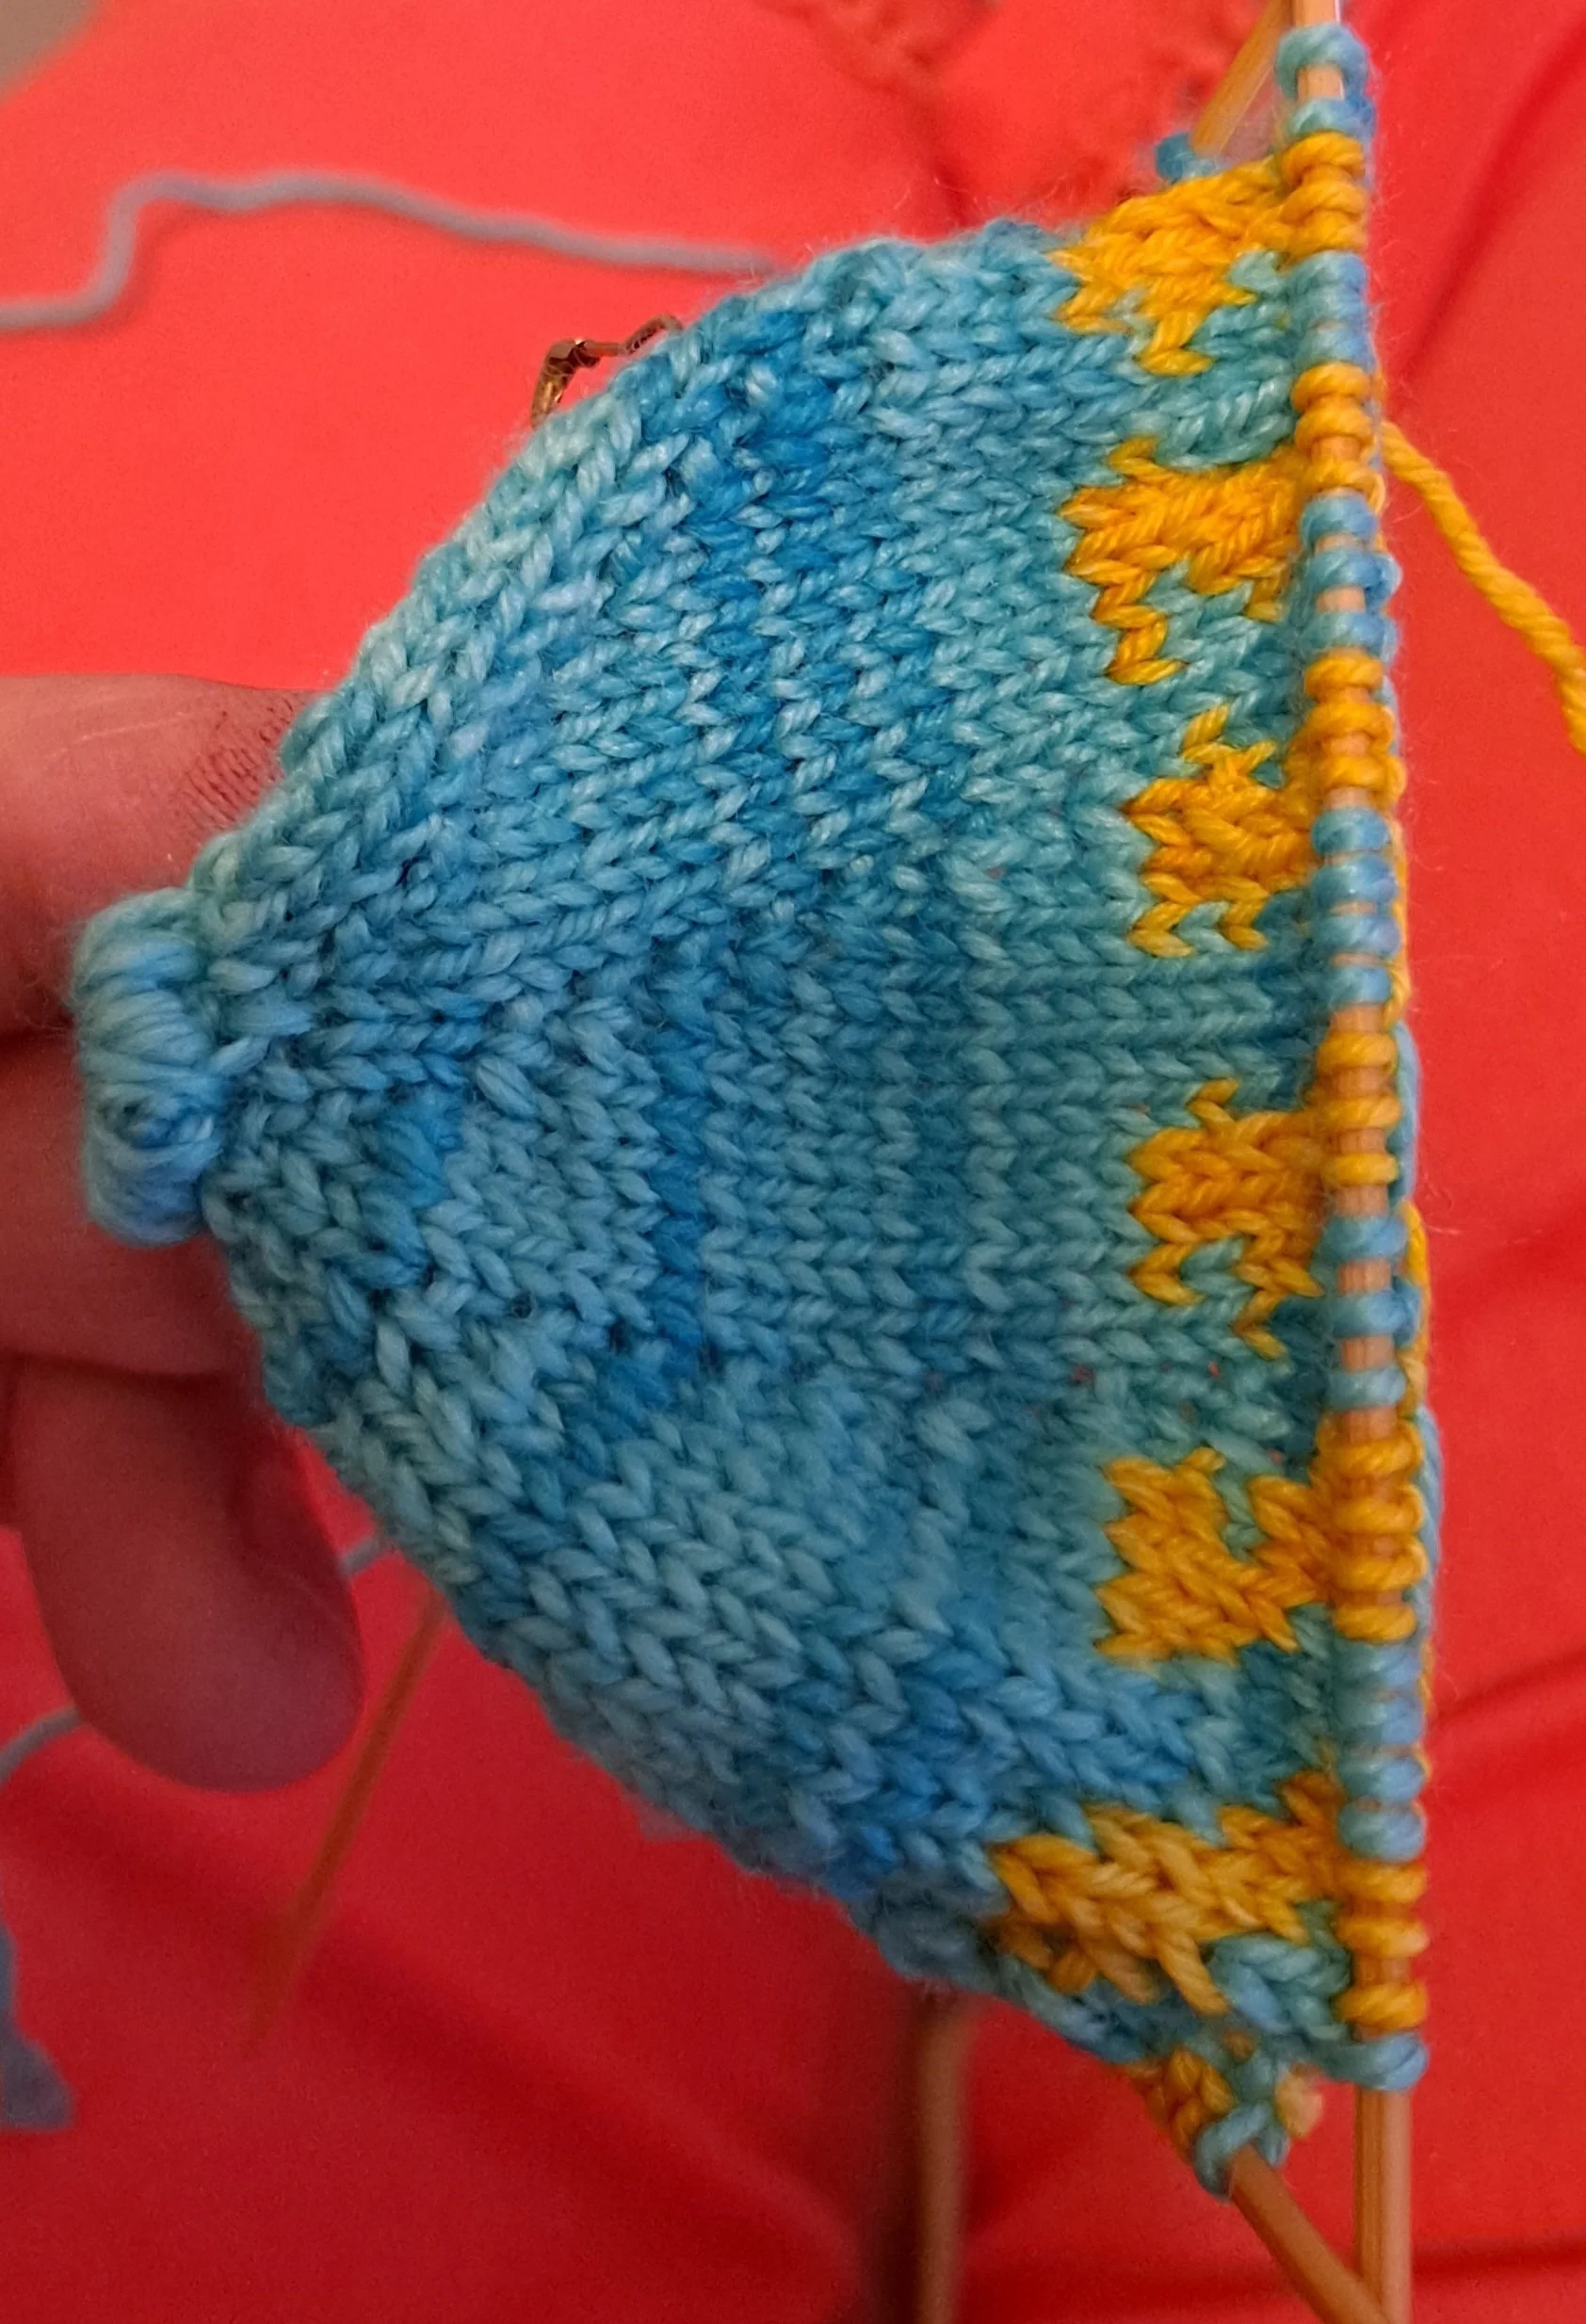
I don’t usually write down patterns and I tend to knit my fish over crocheting them. For my kissy fish, I cast on between nine and twelve stitches and knit in stockinette stitch for an inch or so. I then increase into each stitch and spread those stitches over three needles and start knitting in the round. The rate of increasing after that is up to how you want your fish to be shaped. If you increase in every row, you will have a flat surface which may not be what you want. If you want a plump fish like the one above, you will want to increase into every other row. If you want more of a triangular slope, increase into every third row. Your increases should be the standard increases that you would do for a top down hat. First row, increase into every stitch, knit one row. Next row, knit one, increase one all the way around, Knit one row. Next row, knit two stitches and increase into next stitch all the way around, knit one row…et cetera
After a few rows, I will go back and shape the lips. I do this now because I am going to knit this fish as an enclosed tube and will stuff it and then knit it shut. If I wait until I have half the body knitted, there will just be more fabric to get in my way.

I will take the initial inch or so at the beginning and sew the side seam up. I then roll the tube outward and down until it reaches the face.
You will then take a yarn needle, threaded so you have two strands of your yarn, and you will bring it up through the open tube and over the lips to the underside of the tube. Keep doing this all the way around the lips until you can’t see any of your tube underneath. Gently sew the lips closed inside the body and tie your yarn off and you are ready to proceed with the rest of your fish.
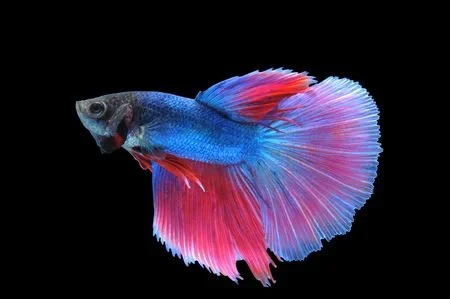
Whenever I am planning a fish, I will go online and search out fish images in the yarn color that I have. Sometimes I am faithful to a specific species and sometimes I just riff on reality. For my blue fish here, I just wanted a little inspiration without being biologically perfect.

I needed to decide if I wanted stripes and if so, what direction I wanted them to go in.
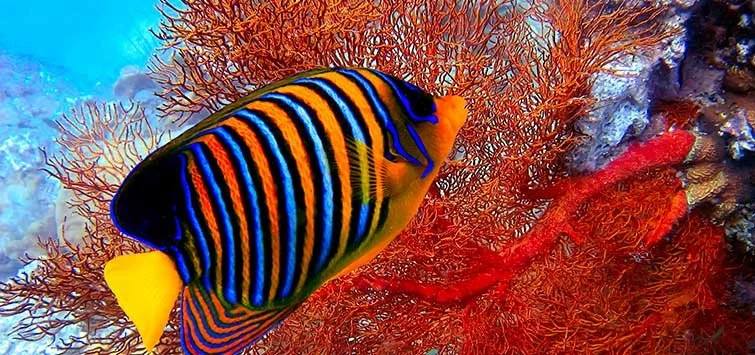
Yes, it is easier to have the stripes going around the body rather than head to tail but sometimes I love a challenge.
You might even consider a little lipstick for your fish.

Or perhaps wider stripes.
Or maybe no stripes and just a colorful tail.
Remember when I said increasing every row would give you a flat surface?

Maybe your fish will actually need that flat surface for a couple of rows because FISH CAN BE WEIRD.
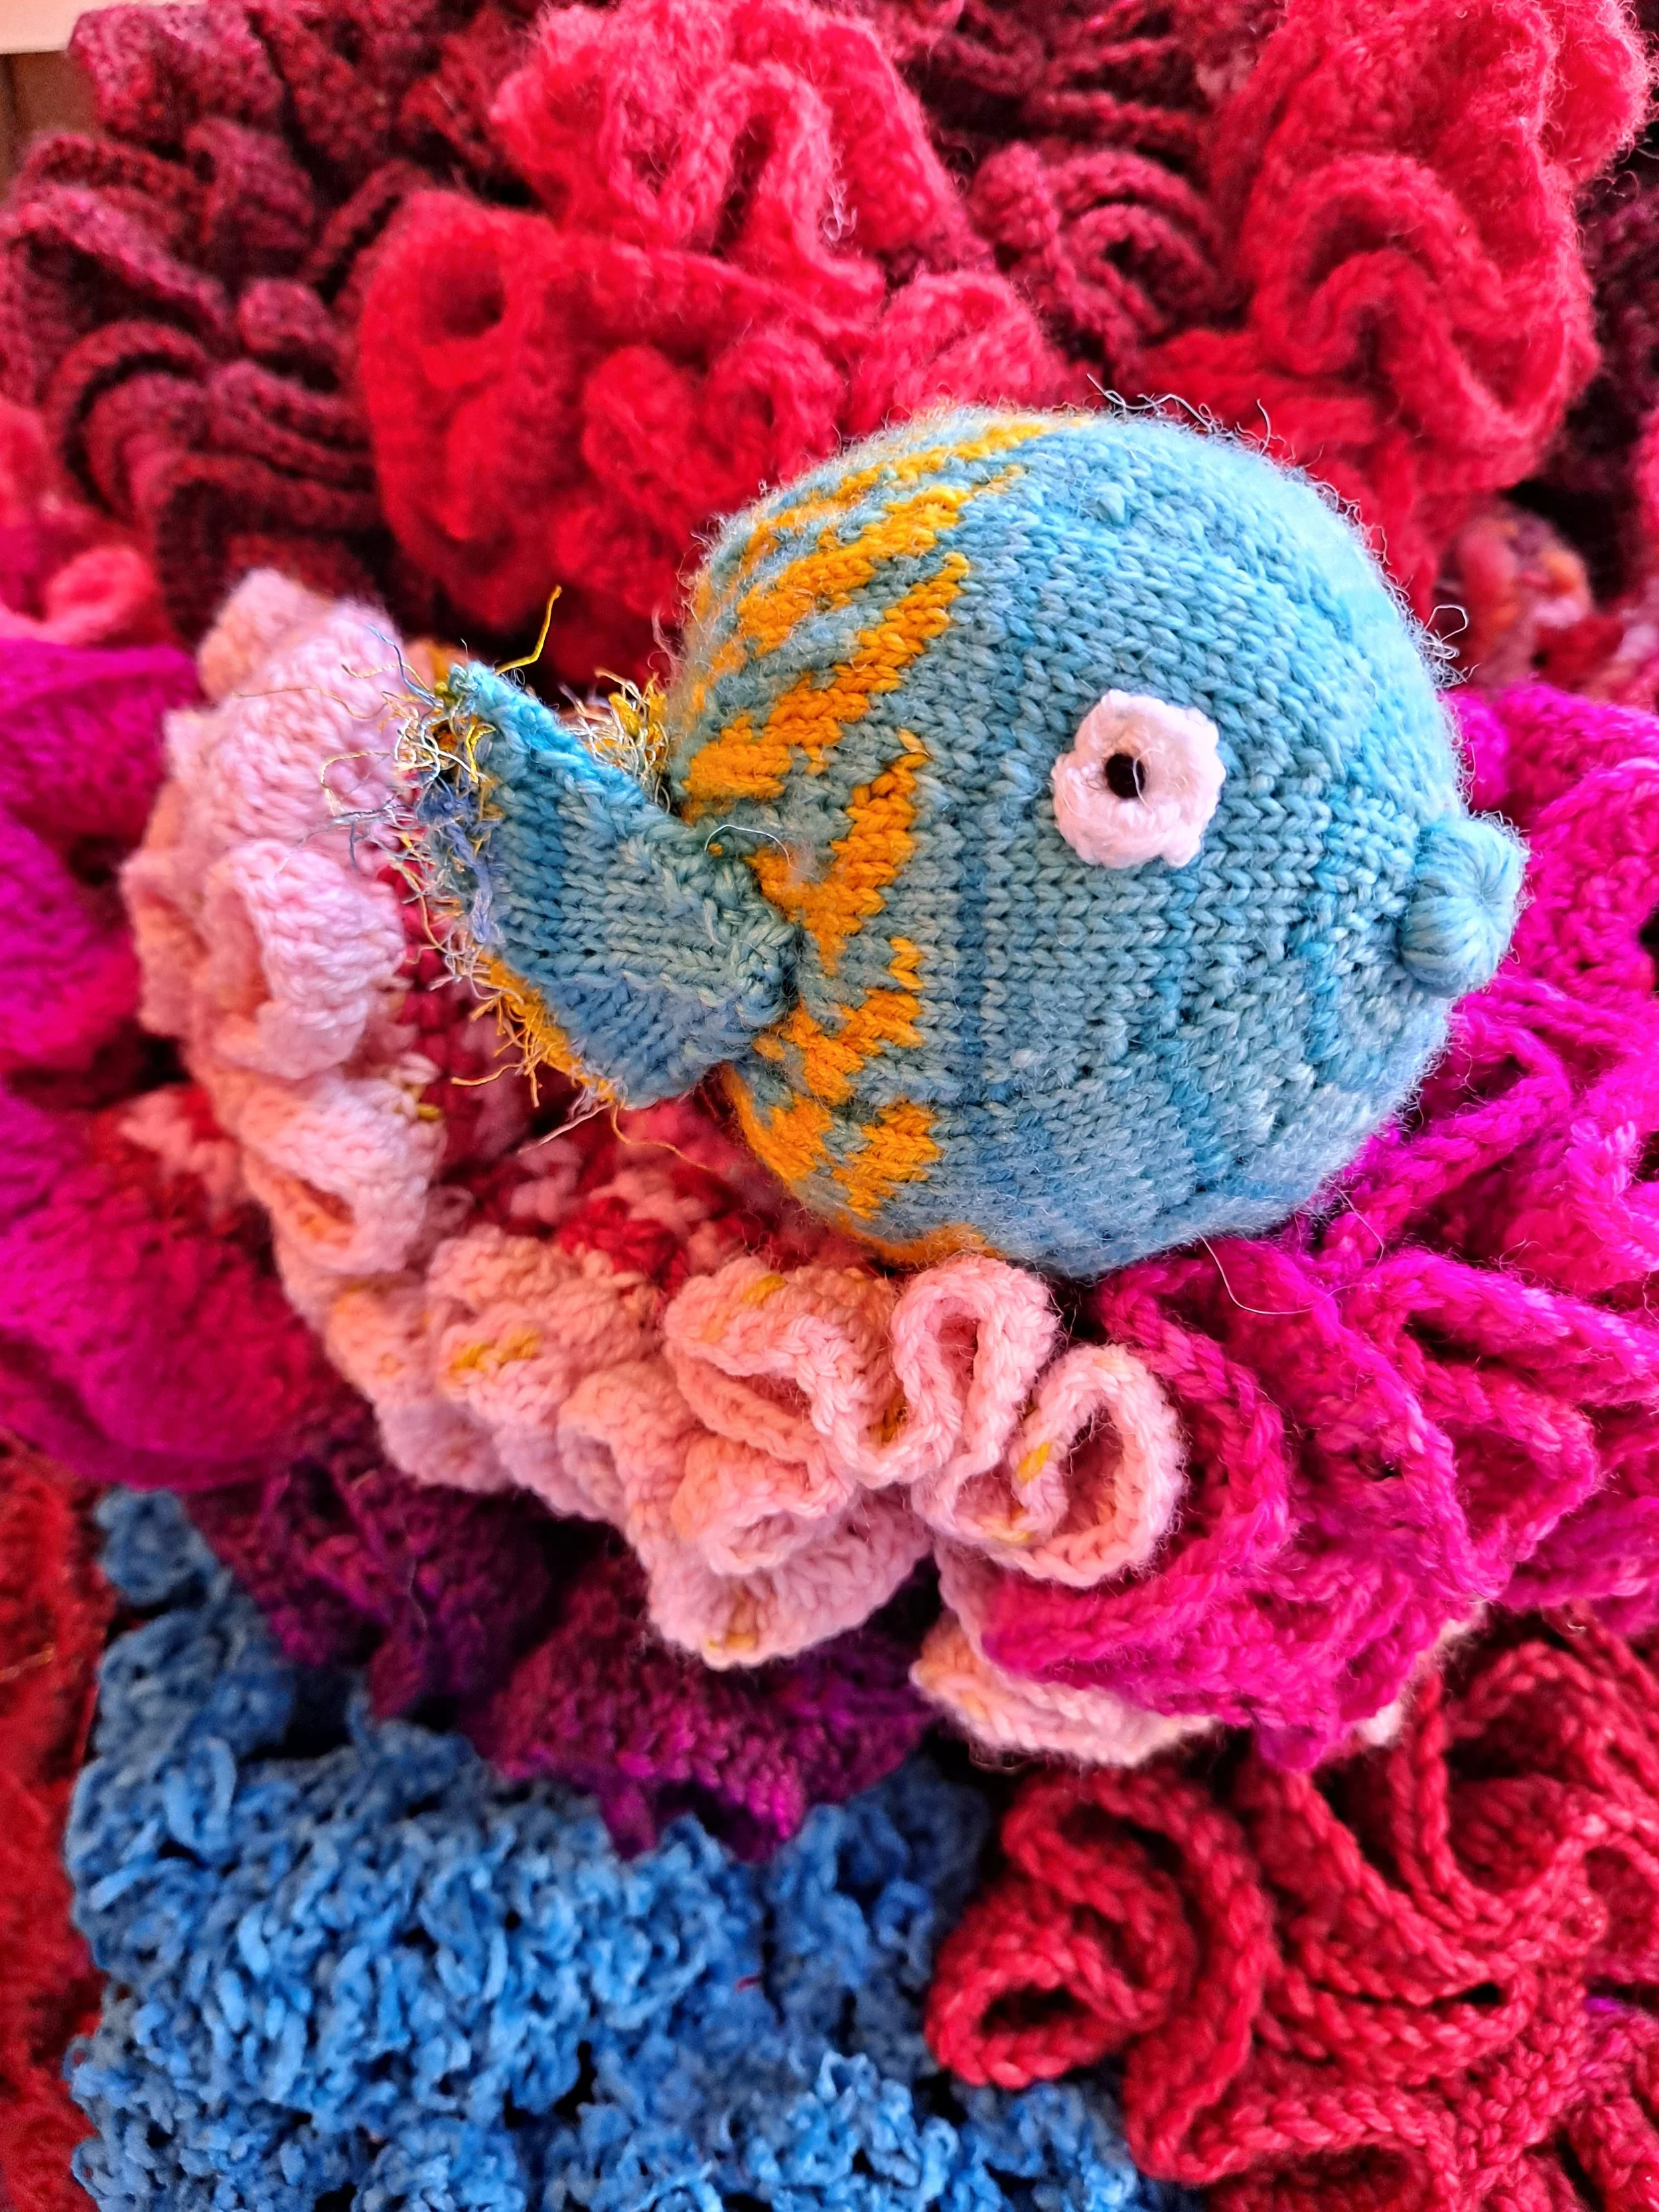
For my fish, I went with head to tail stripes. They are random because some fish are rebels and refuse to color within the lines. (Yay fish!)
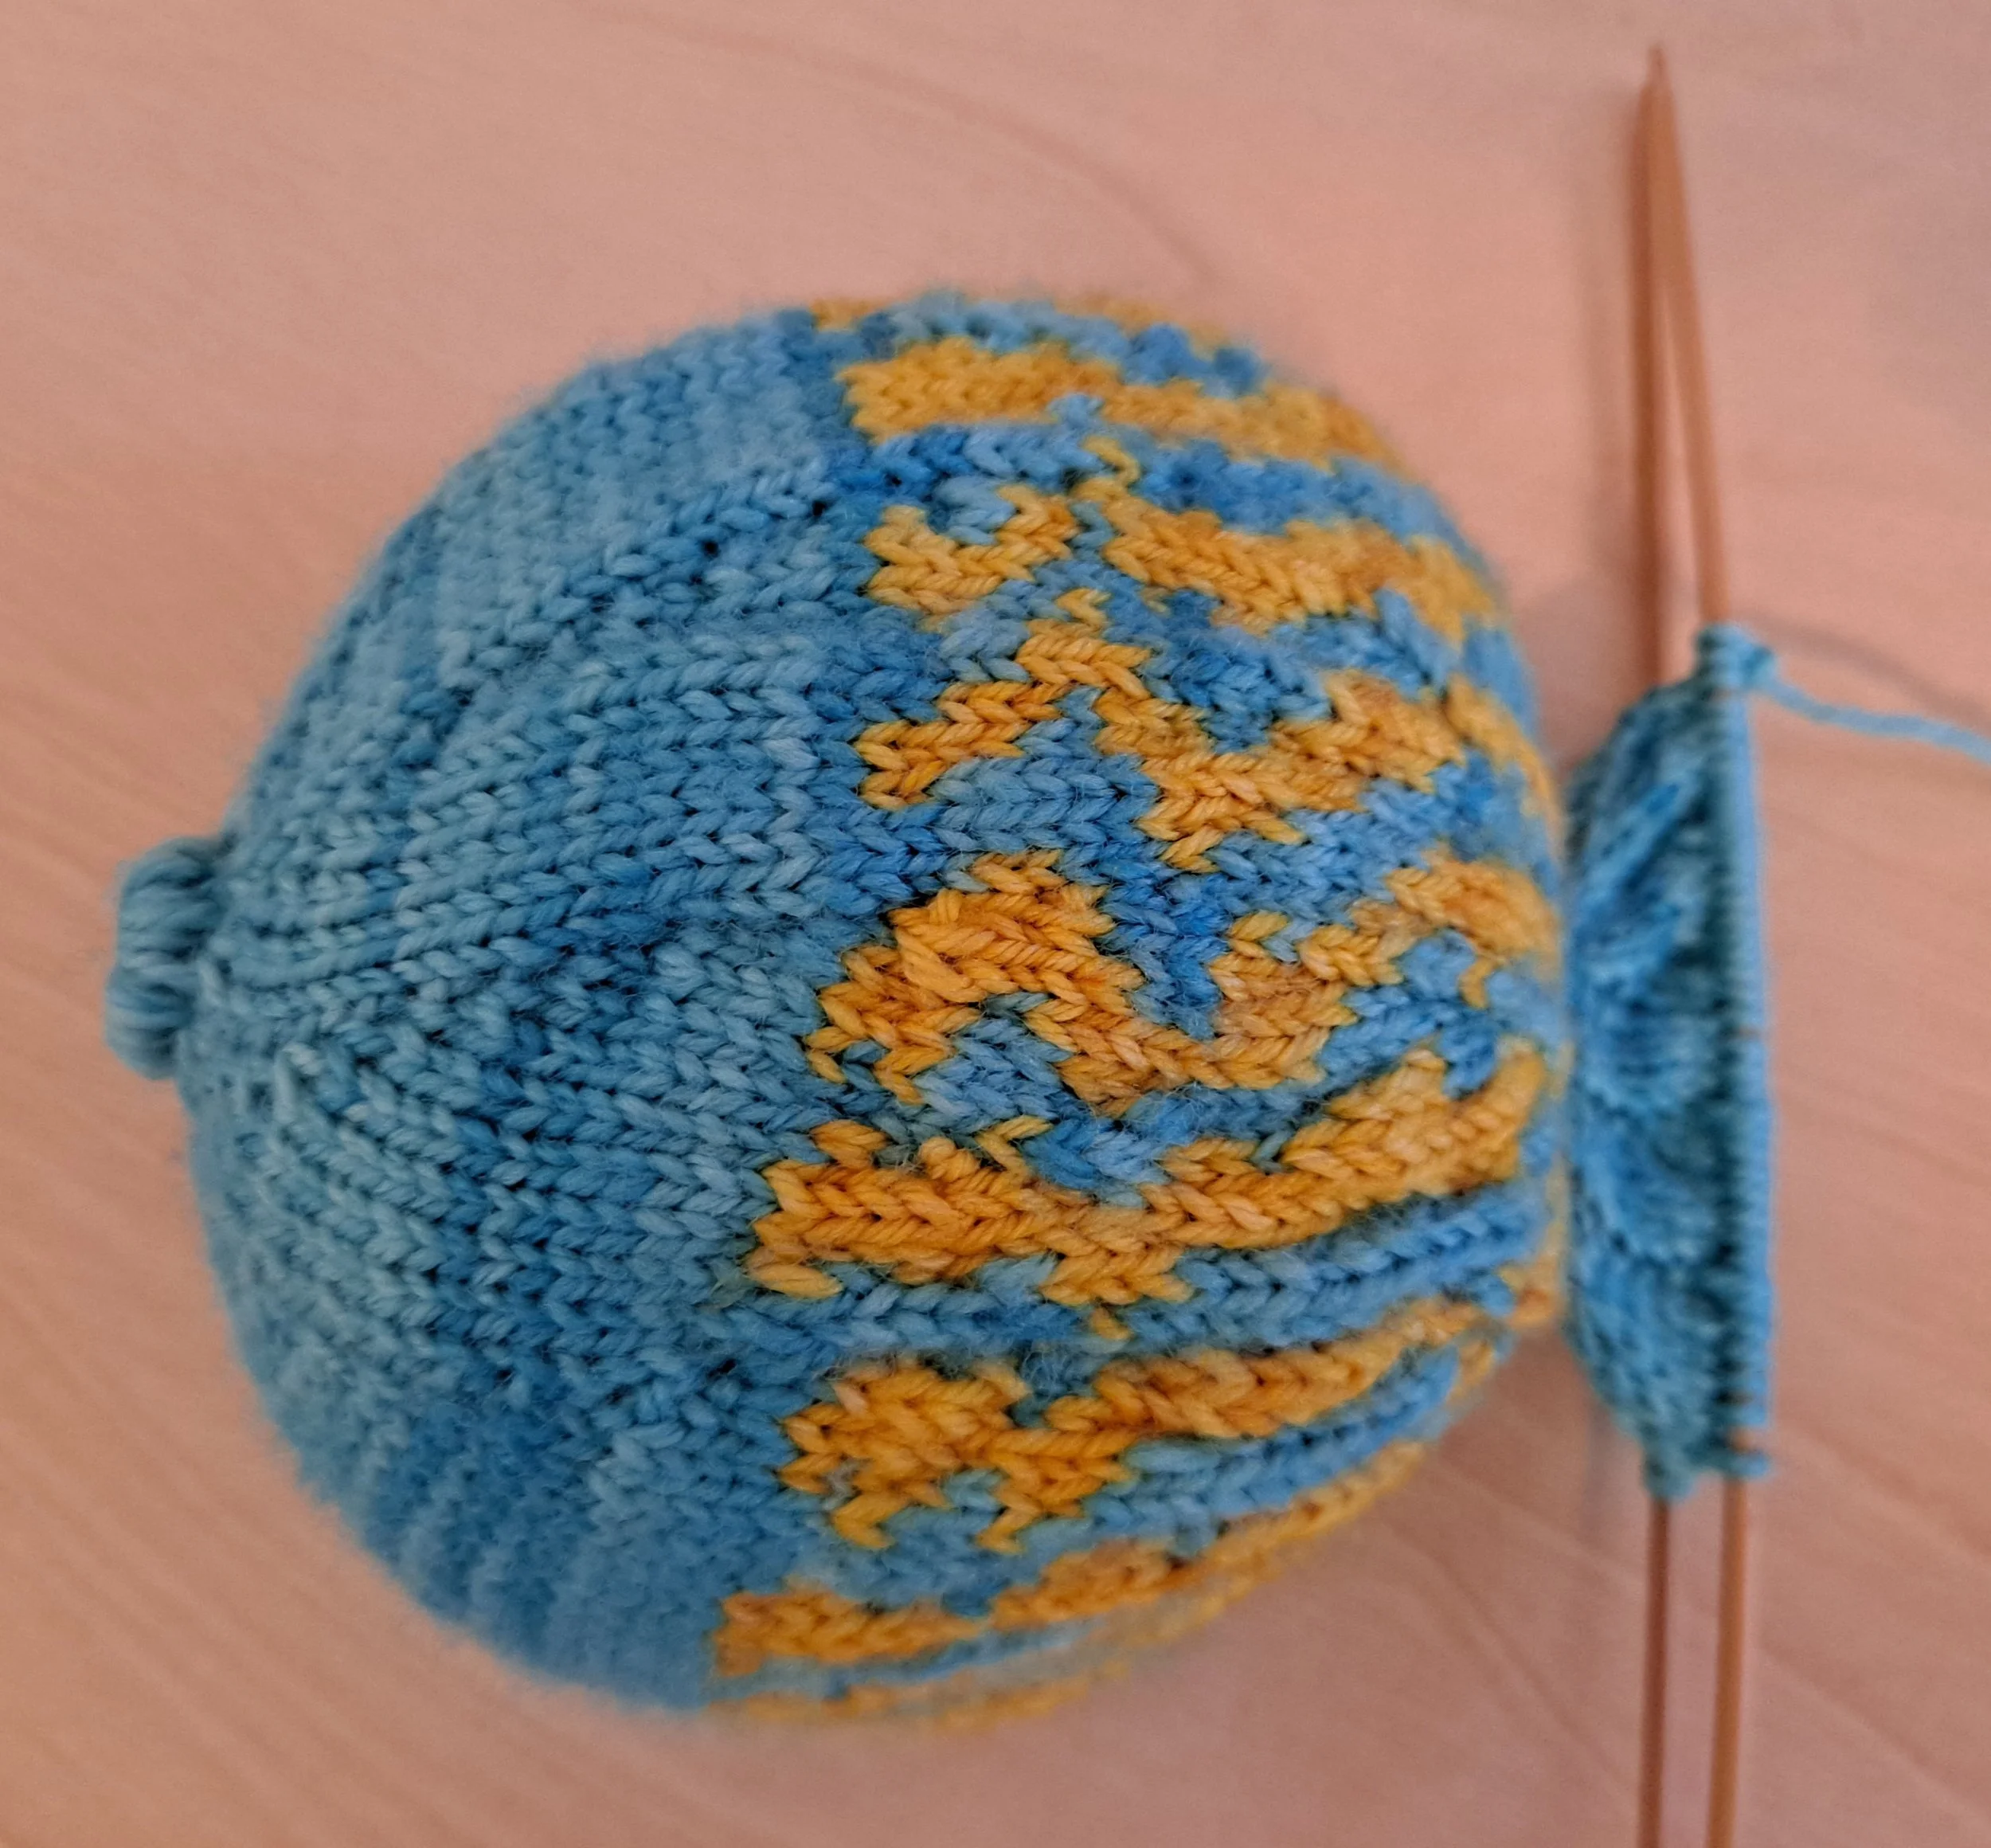
For the body, I increased every other row until it was as plump as I wanted and then I knit an inch or so without any increases. When I got to where I wanted to decrease, I decreased every other row for a few rows and then decreased every row until I got down to the last nine to twelve stitches. With those stitches still on the needle, I soaked the fish in water and stretched the body out with my fingers to block the color knitting. After it dried overnight, I stuffed the body and went on to the tail.

My goal was to have a tail that looked like it was in motion and I do believe I failed on this point. I increased in every row and I ended up with too much ruffle. If I had to do it again, I would increase into every second row and given it a more triangular tail. All that being said, check out a few fish tails and see what strikes your fancy. I also added a little eyelash yarn at the end of the tail and fins to bling it up a bit.
If you are going for a more traditional triangular shaped tail, just think about where you need to cast off stitches in the center and continue to knit on the ends. If you just think about your fish as a series of increases/decreases/ cast on/cast off shaping, you can usually puzzle out what should happen.

I do suggest writing down what you do when you come to the tail so that you can replicate it on the other side. If you are unsure whether what you have planned will work out, thread a lifeline through your fish’s stitches before even starting the tail. This can give you a lot more confidence to be experimental.
Fins are quite easy. Just take note of their shape and proportion to the rest of the body. I usually make my fins so that the piece will be folded over and sewn shut and then sewn to the fish’s body as it makes them sturdier and more realistic.
Even if I knit my fish, I usually crochet the eyes. You can do whatever you need to do to create the round eye shape but if you are knitting it, I would consider knitting it on two needles back and forth and then sewing up the little seam at the end. For me, there is nothing more miserable than trying to wrangle four size 1 needles with fingering weight yarn while trying to make an eye that only lasts perhaps six rounds. When I crochet, it is usually creating a circle after three chains and then crocheting into the center loop for eight or so single crochets and then binding off.
For the center of the eye, I usually use two strands of black yarn and do a French knot, connecting the two eyes inside the fish’s head loosely because it is easier than threading the needle twice. It also allows you to tighten this distance between the eyes if your fish needs a little sculpting or expression.
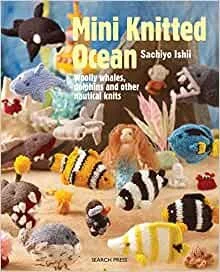
After all this, if you are totally out of your comfort zone and would like actual well written patterns to follow, I highly recommend this book. She will give you options for body types and colors and techniques that you can master and then go forward and create your own fish.
Most importantly, have fun!